ServiceNow MID Server installation
This a continuative article. To see all related articles, open the following page.
To achieve a single sign-on experience the user accounts must be already published in ServiceNow before the user starts the login process.
In this example we’ll synchronize on-prem Active Directory (AD) users to the ServiceNow instance. There will be no passwords or other confidential data transferred. For synchronizing the AD with ServiceNow, you need a ServiceNow Management, Instrumentation, and Discovery (MID) server in your on-prem environment. You can compare the ServiceNow MID server with the Workspace ONE Access connector. The connector works as local connection to the AD resources. For more information about the MID server click here.
Please note
Though we know Workspace ONE, we’re not ServiceNow experts! All steps shown here are for guidance only, so if you have a ServiceNow expert in your company, you may want to check with them if you have questions about how to configure the product.
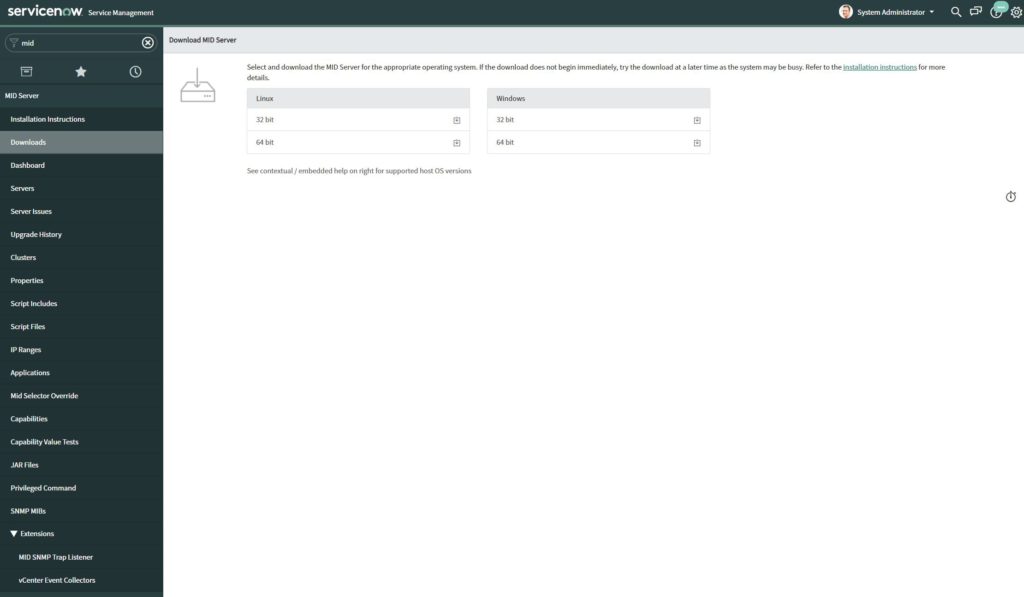
Let’s start with the ServiceNow configuration. First, we navigate to the “MID Server” menu (you can just type MID in the search navigation bar) and download the installation files.
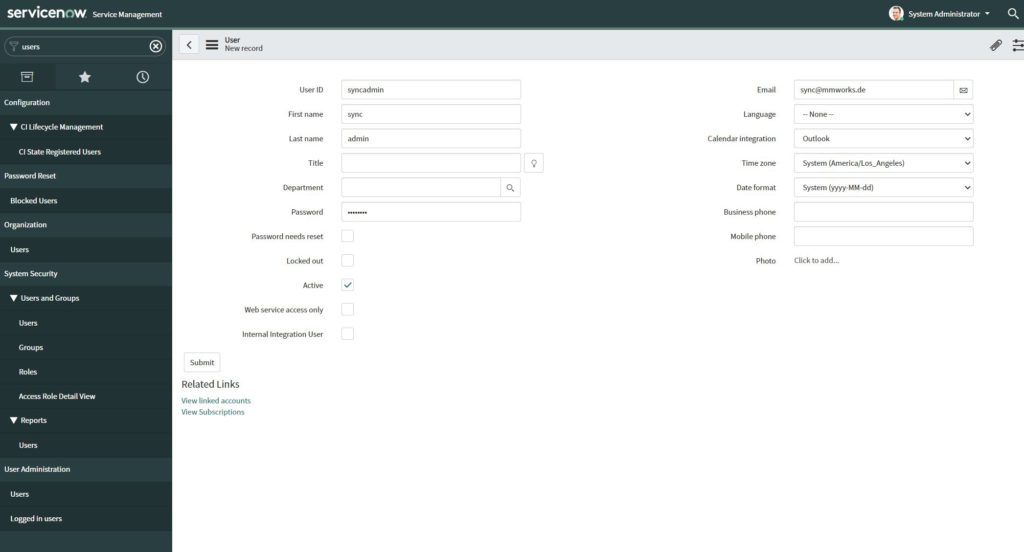
In the meantime, create a separate service user for the MID synchronization.
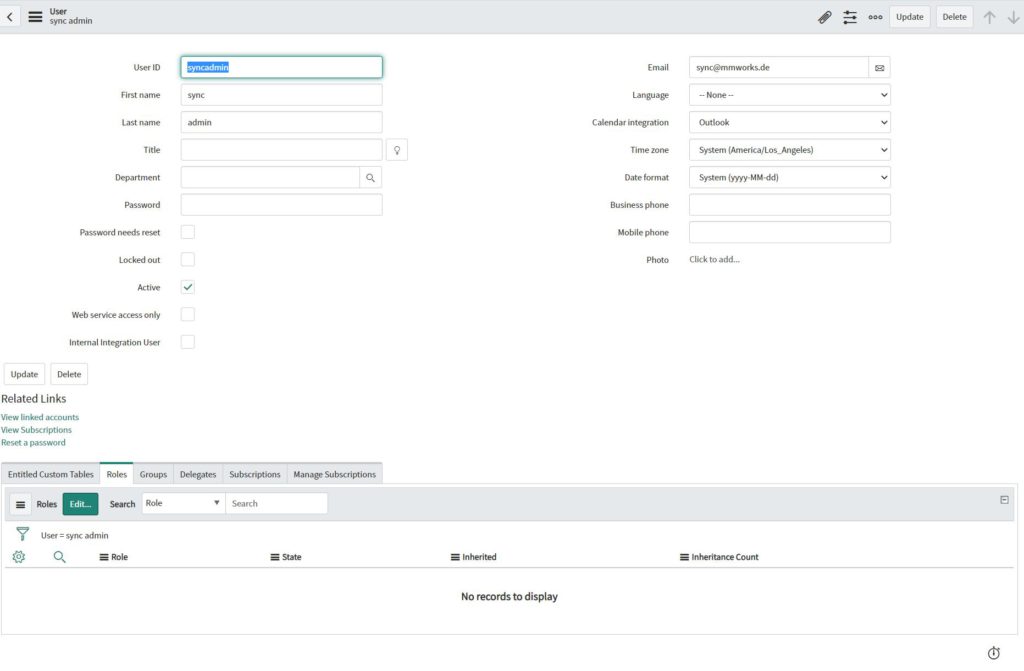
This service user needs to be assigned to the “mid_server” role. Navigate to “Roles” and then to “Edit”. Now add the “mid_server” role to the service user.

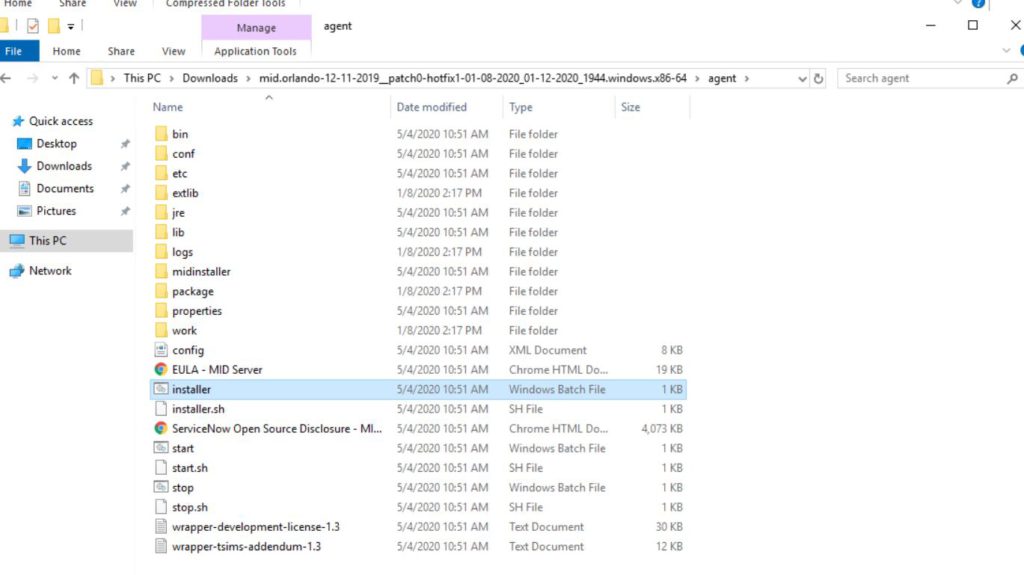
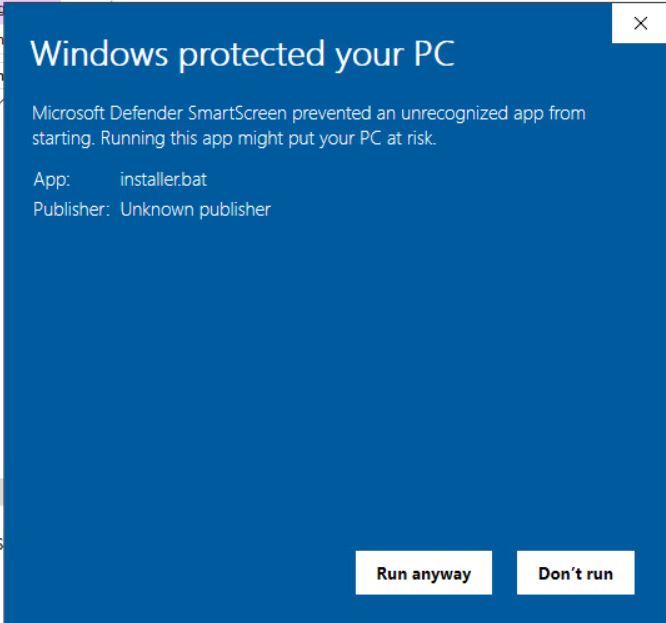
Now we’re able to install the MID Server. In case you receive the “Windows protected your PC” message, just click “Run anyway”.
The rest of the “wizard” is quite easy – type in your ServiceNow instance URL + the username and password of the created user with the “mid_server” role.
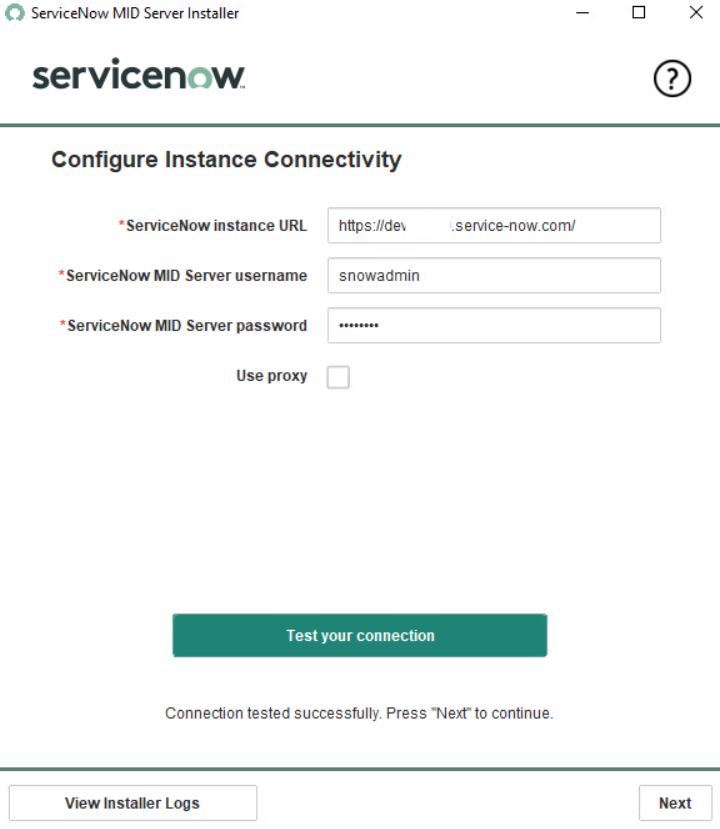
Test your connection and start the server.
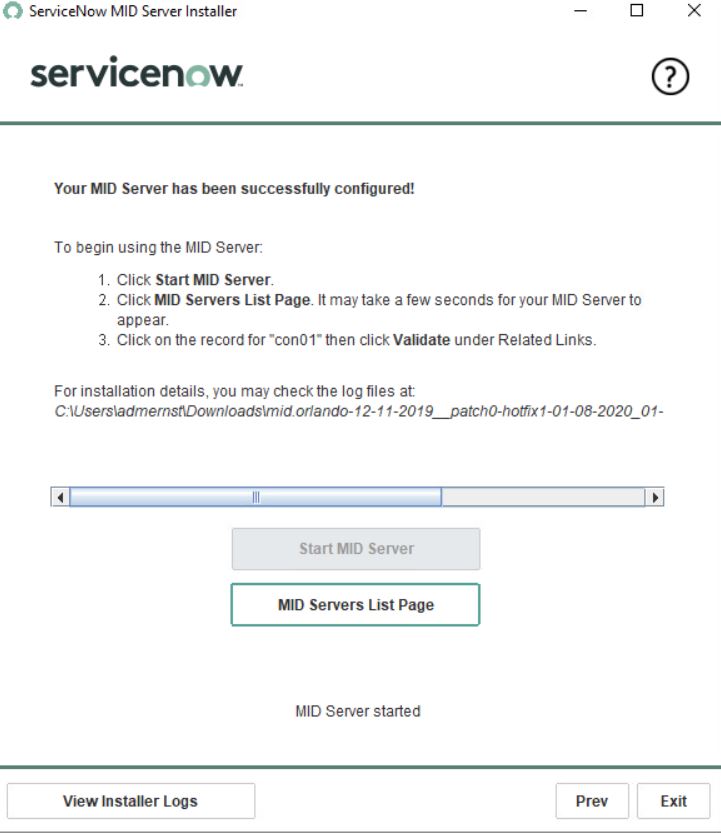
The MID server is now installed, configured and running. We need to configure the synchronization settings in the ServiceNow console.
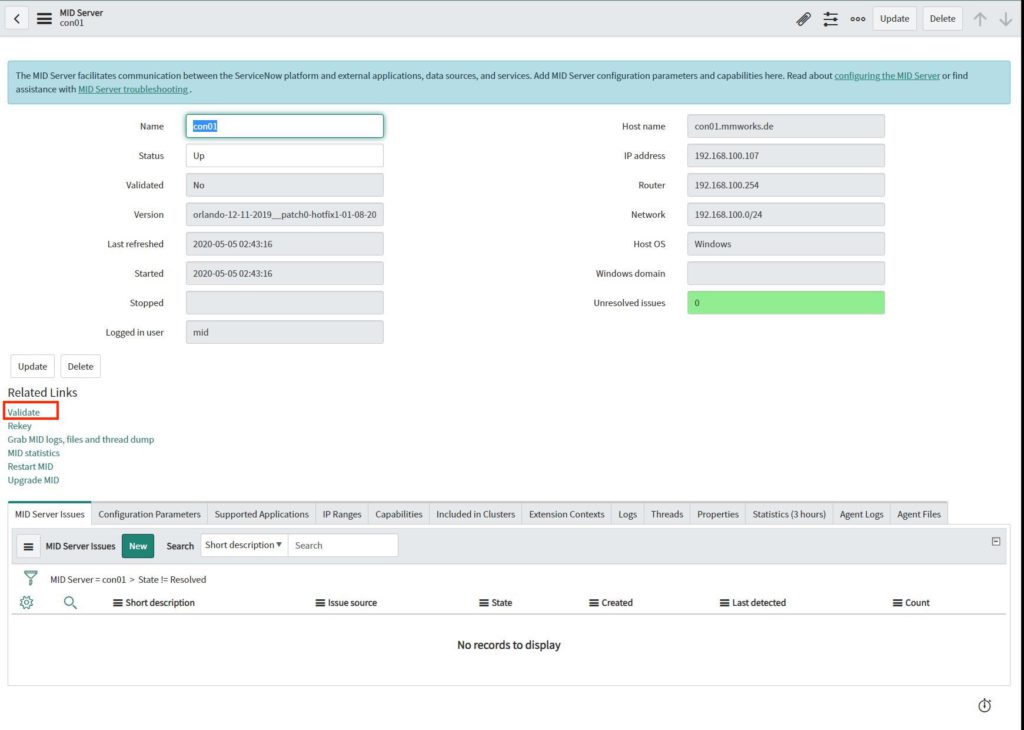
Navigate to the “MID Servers” view. You should see that you have now created the MID server. First, we need to validate the Server to activate the synchronization.

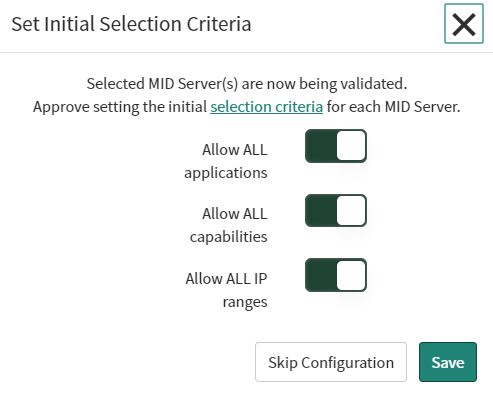
To perform the validation, open the server and click on the “Validate” link below the “Related Links” section.
Activate all settings and save the configuration.
The validation needs some time, but we can already go a step further and start the configuration of the synchronization settings.

Next we are creating an LDAP Server.
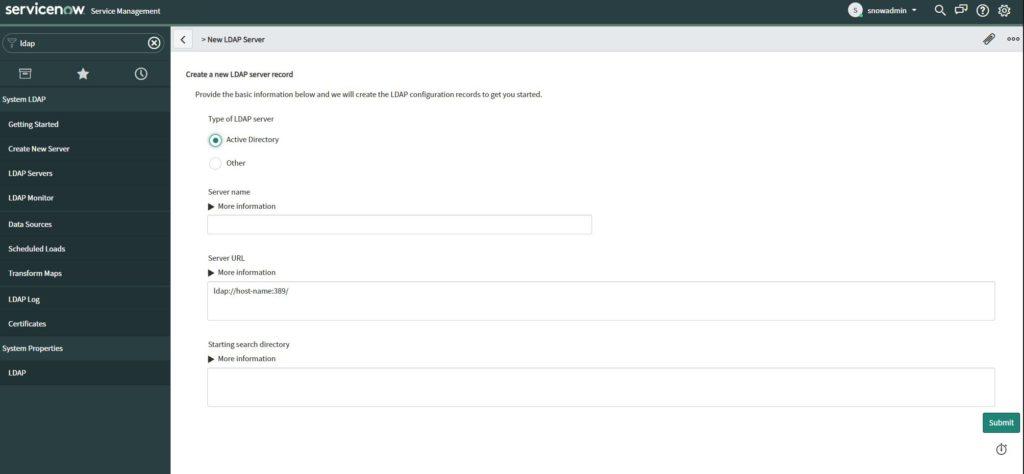
As “Server name” type the FQDN of the Domain Controller.
As “Server URL” type “ldap://DCNAME:PORT“.

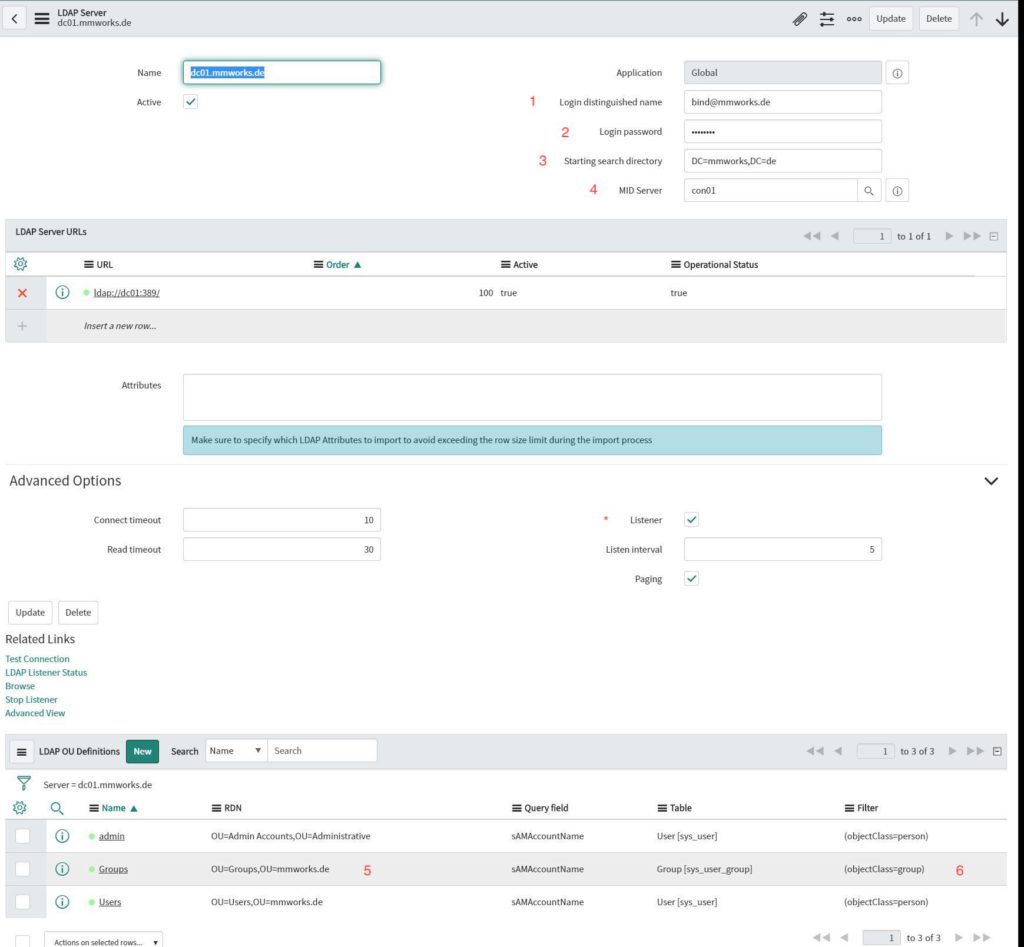
After you submitted the settings you need to configure the following settings:
- “Login distinguished name”
- Login password
- Starting search directory
- MID server (in case you receive an error regarding the listener, you first need to disable the listener mode (*), update the settings, set the MID server and then activate the listener mode again)
- Change the LDAP OU definitions RDN to you OU
- Change the LDAP OU definitions filter to
(objectClass=person)
otherwise you will not find any accounts
To check if the synchronization would work, navigate to “Data Source” and select your Server.
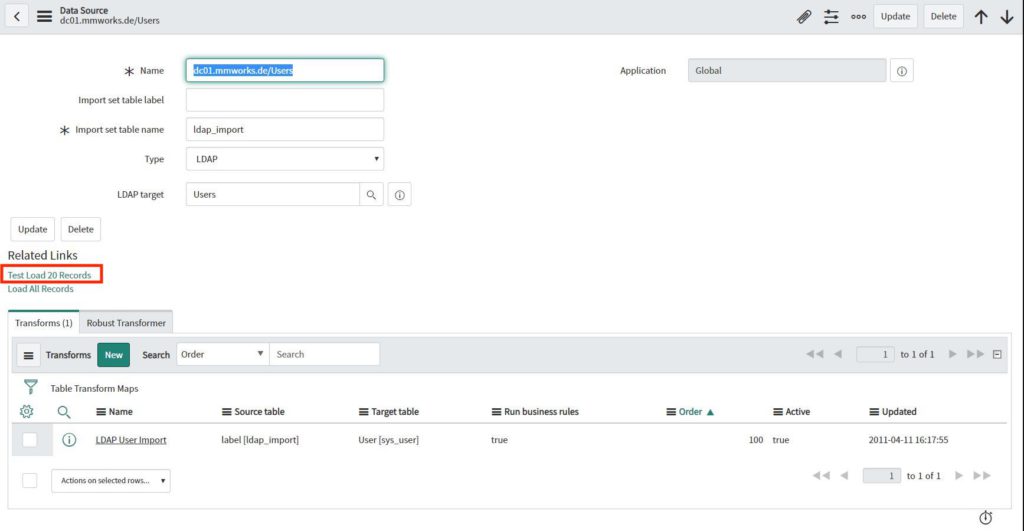
Then you can click on the “Test Load 20 Records” link to test load 20 entries from your AD.
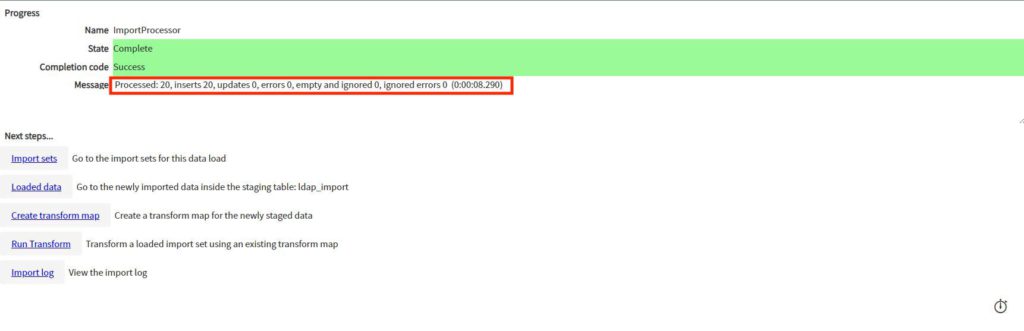
If the test run was successful, we can activate the Scheduled Data Import, to keep the ServiceNow user database up to date.
Navigate to “Scheduled Data Import”, select your server and activate the data import.
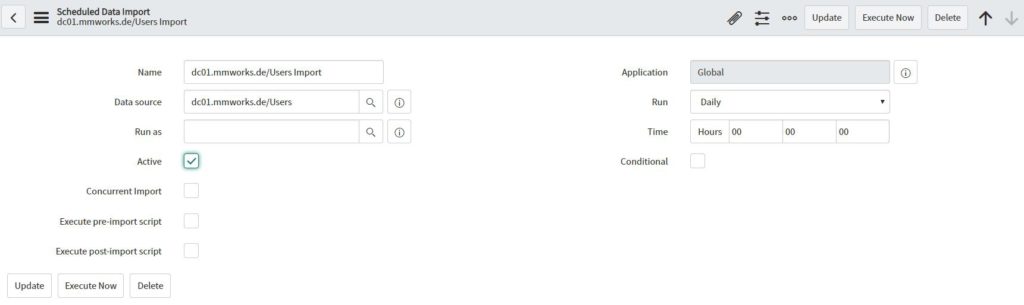
To speed up the import, run the “execute now” task. After a few minutes (depends on the data load) you should see the users in ServiceNow.
Blog series overview
This blog post is part of a blog series. Please view also the other related posts:
Empowering customers in client management since 2012.
Empowering customers in modern management since 2018.
Experienced Senior Customer Success Manager with a demonstrated history of working in the End User Computing (EUC) space. Passonate with helping customers accelerate time to value and achieve their business outcomes whilst creating a collaborative working environment that motivates people to do their best work. Additionally, profession for finding technical solutions and absolute tech nerd with a Bachelor in Computer Science (Bsc)