Configuring IBM Watson
This a continuative article. To see all related articles, open the following page.
Why should we use IBM Watson? You can use every chatbot engine you like, but VMware provides a collection of pre-defined skills for IBM Watson. Also, the IBM Watson Chatbot is for free for up to 10,000 Messages a month.
If you don’t have an IBM Cloud account, you’ll need to create one here.
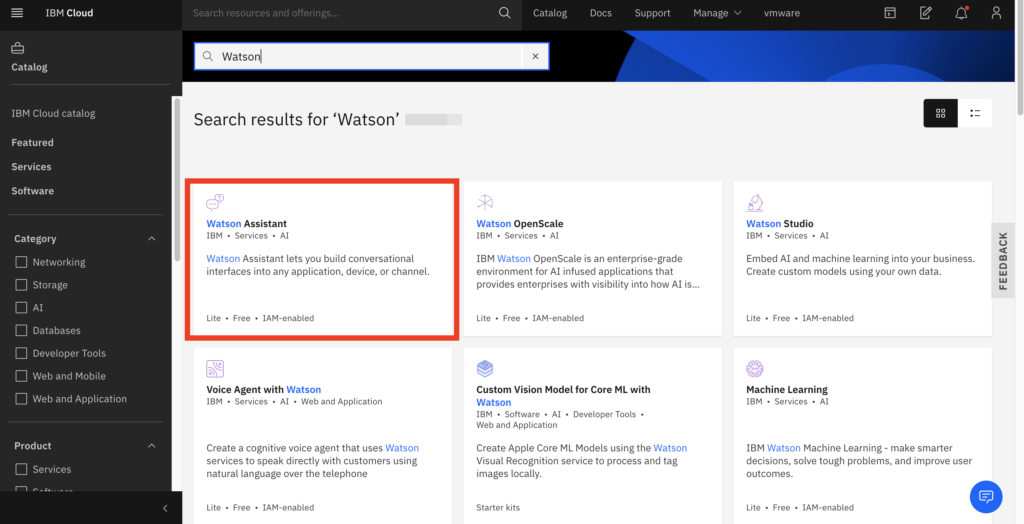
Login to IBM Cloud and open the “Create Resource” site.
Type in Watson and choose the Watson Assistant:
Select a region and select a pricing plan that fits your needs.
If you want, type in a Service Name and select a resource group.
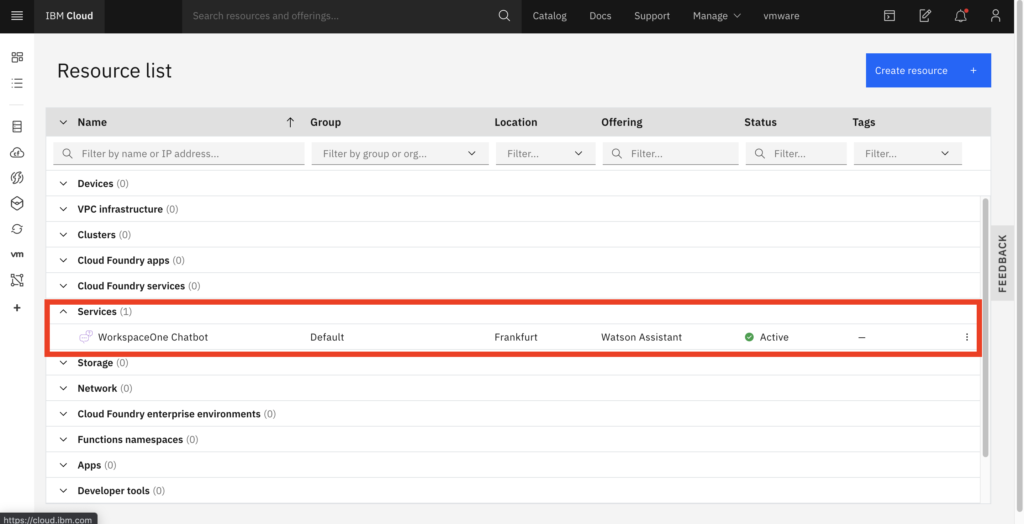
After you created the Watson Assistant, navigate to “Resources” and you should see your Watson Assistant below the “Services” category.
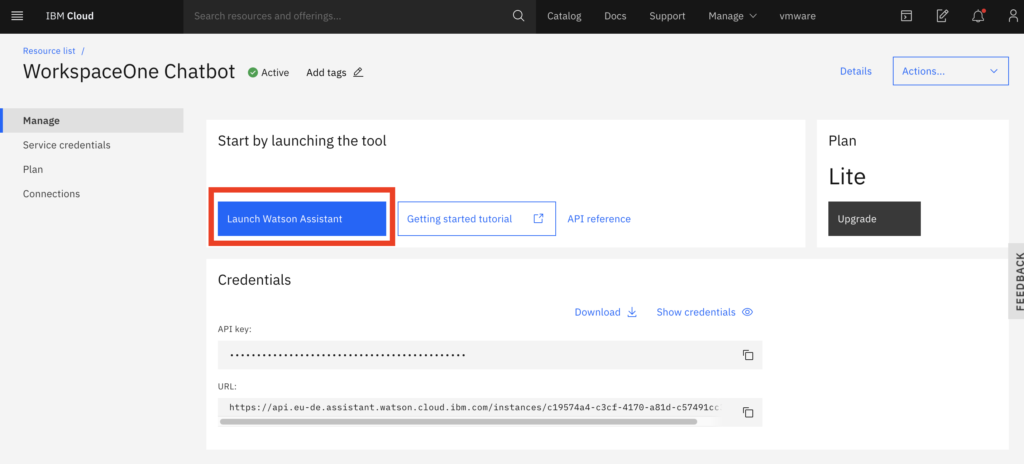
Select the Watson Assistant resource and select in the details page the “Launch Watson Assistant” button.
Now select “Create assistant”, type a name and a description and select “Create assistant”.
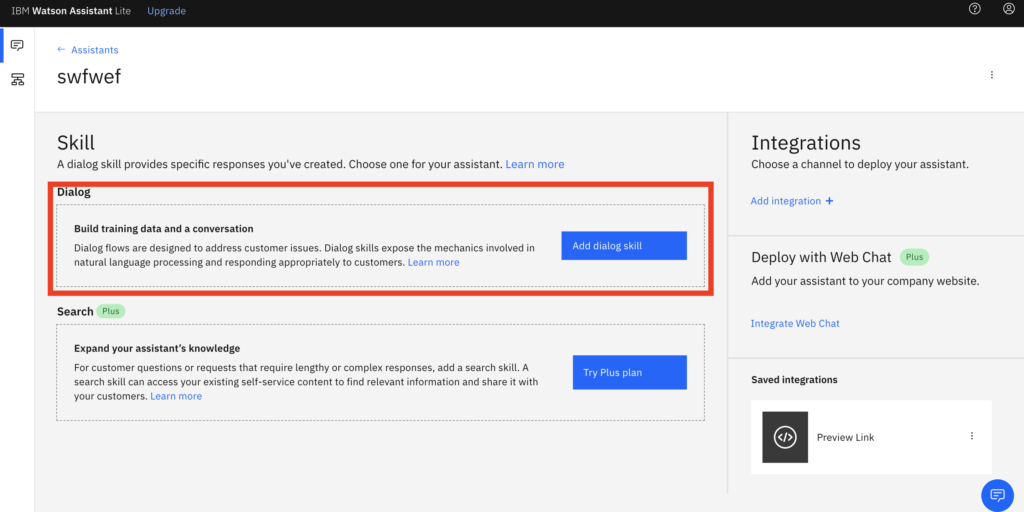
In the assistant overview, select “Add dialog skill”.
Then “Import skill” – download the JSON file from:
https://code.vmware.com/samples?id=6670
And select the downloaded JSON file as import skill.
This JSON will provide a lot of helpful predefined dialogs for the Watson Chatbot. This file will be updated by VMware as new features are implemented or improved. So make sure to check from time to time if there is a newer version available.
If you want to go deeper into the Watson Assistant, you can find helpful things here.
Navigate via the three-points to the settings page of the assistant.
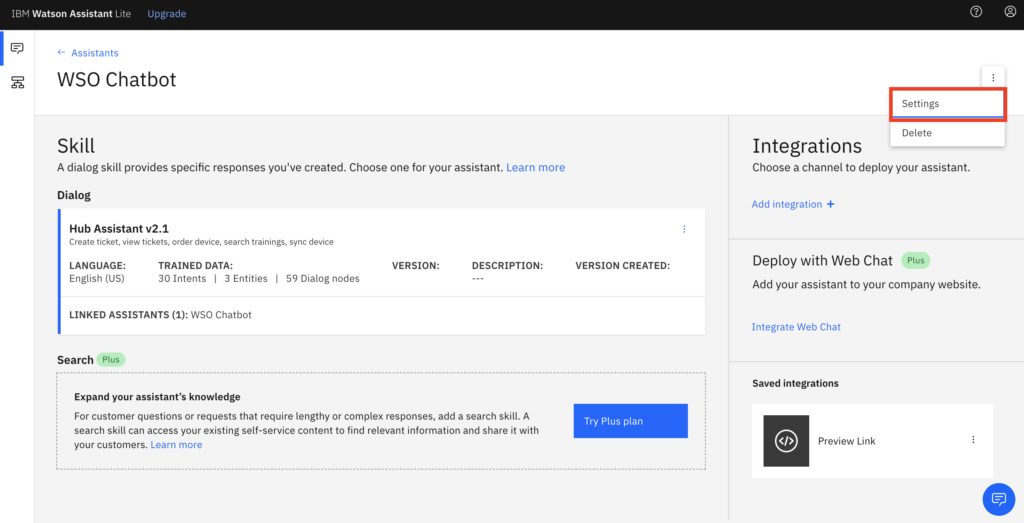
Select the API details tab and write down the Assistant ID, Assistant URL and the API key.
Configuring the Virtual Assistant
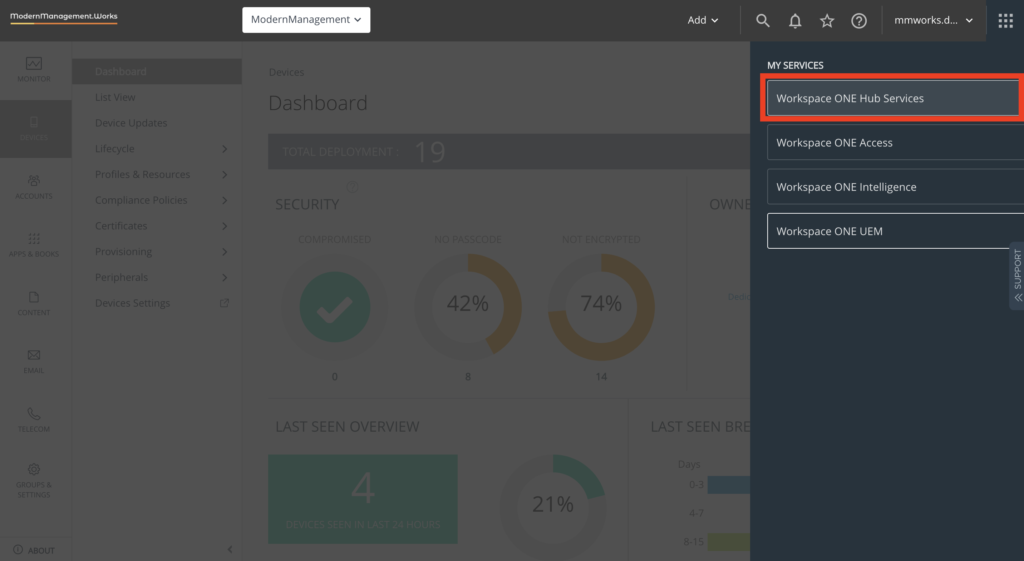
We have configured IBM Watson and noted the needed information? Fine, then we can activate the virtual assistant in Workspace ONE Hub Services. To do this, open your Workspace ONE UEM console and choose “Workspace ONE Hub Services” in the “MY SERVICES” menu. If you don’t see the Hub Services category, you need to activate Hub Services for your environment.
In the Hub Services menu select “Virtual Assistance and enable the Chatbot and the Mobile Flows feature.
Type in the saved information from the Watson Assistant.
Please note
The “IBM Watson Assistant URL” is only the base URL. So, in this case it is:
https://api.eu-de.assistant.watson.cloud.ibm.comand not the full Assistant URL from the IBM Cloud website.
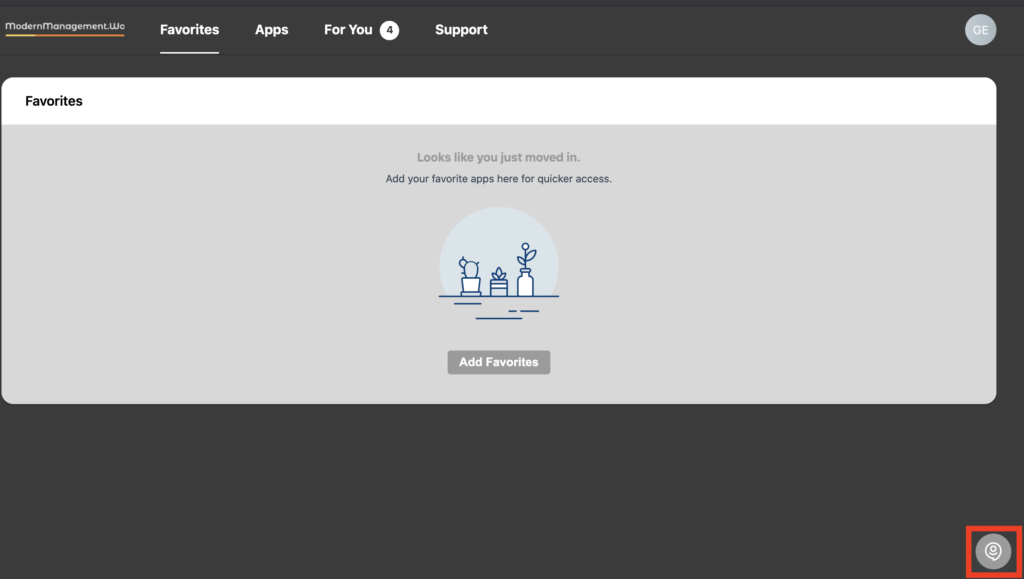
After you saved the configuration, you should see the small chatbot button in your Intelligent Hub in the lower right.
After you configured the Mobile Flow Connectors, you will see that the chatbot will evolve automatically if new functions are added.
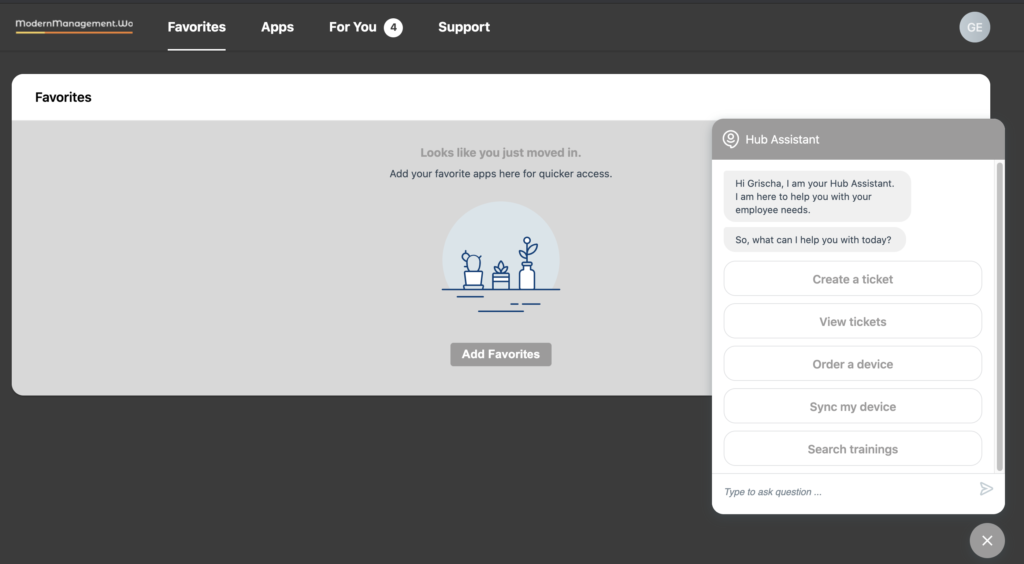
All information that is shown can be configured – e.g. if you don’t want to show the “view tickets” button, you can delete it in the Watson Assistant configuration.
Blog series overview
This blog post is part of a blog series. Please view also the other related posts:
Empowering customers in client management since 2012.
Empowering customers in modern management since 2018.
Experienced Senior Customer Success Manager with a demonstrated history of working in the End User Computing (EUC) space. Passonate with helping customers accelerate time to value and achieve their business outcomes whilst creating a collaborative working environment that motivates people to do their best work. Additionally, profession for finding technical solutions and absolute tech nerd with a Bachelor in Computer Science (Bsc)