Configuring the OOTB Mobile Flows connector
This a continuative article. To see all related articles, open the following page.
If you completed the ServiceNow SSO configuration we’re now able to implement the Mobile Flow capabilities of Workspace ONE. The Mobile Flow configuration is divided into three parts. One part is the one-time Workspace ONE Access configuration, the other part is creating an OAUTH configuration in ServiceNow. Part three is the Mobile Flow Connector for the particular application – in our case we’ll use the ServiceNow Chatbot connector for providing the full end-user experience.
Step 1
We start with Workspace ONE Access – so navigate to the admin portal and open “Catalog” –> “Settings“.

Select “Remote App Access” -> “Templates” and create a new template.

Configure the following template settings (all settings MUST be same as below):
- Template_ID: MobileFlows_Server_Template
- Redirect URI:
https://prod.hero.vmwservices.com/token-exchange/oauth2/callback - Scope:
- profile
- user
- openID
- Token Type: Bearer
Access Token Time-To-Live (TTL), Refresh Token Time-To-Live(TTL) and Idle Token Time-to-Live (TTL) can be configured as needed.

With this, step one is already done. As already mentioned this step is only required once and will prepare Workspace ONE Access for the Mobile Flow usage.
Step 2
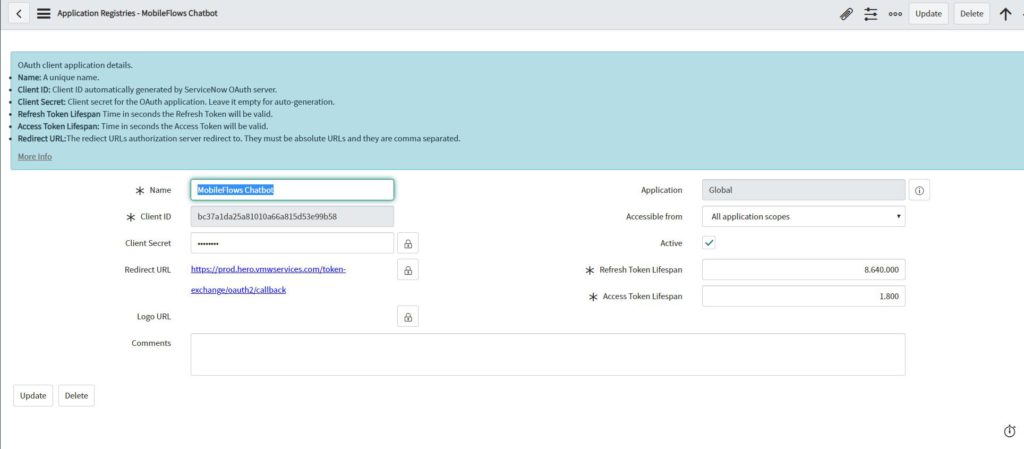
In step two we’ll configure the ServiceNow environment for Mobile Flows. For step two we need to configure the OAuth settings in ServiceNow. Type “OAUTH” in the search bar and select “Application Registry”. Create a new OAUTH application and assign any name you wish.
Make sure you write down the Client ID and the Client Secret. You need to set the Redirect URL to:
https://prod.hero.vmwservices.com/token-exchange/oauth2/callback

After you saved the Application configuration, you are already finished with step two. Quite easy, wasn’t it?
Step 3
The final step before the Mobile Flow workflow can start is to configure the Mobile Flow Connector.
In your Workspace ONE UEM console navigate to Content -> Mobile Flows (if you don’t see Mobile Flows, you need to activate it).
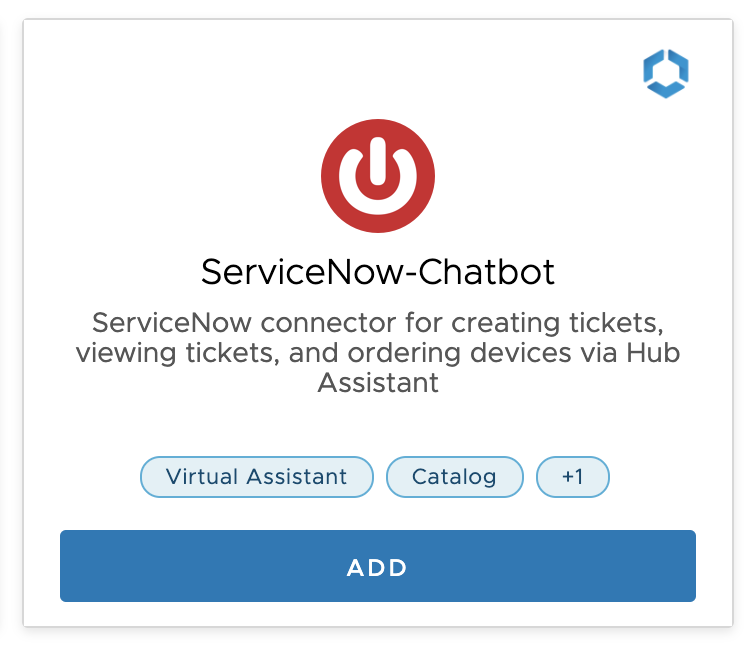
If you scroll down, you see the “ServiceNow Chatbot”

Select “add” to create a new connector and choose a name.
As Base URL type in your ServiceNow URL like this (without a slash in the end):
https://dev12345.service-now.com (change 12345 to your ID)
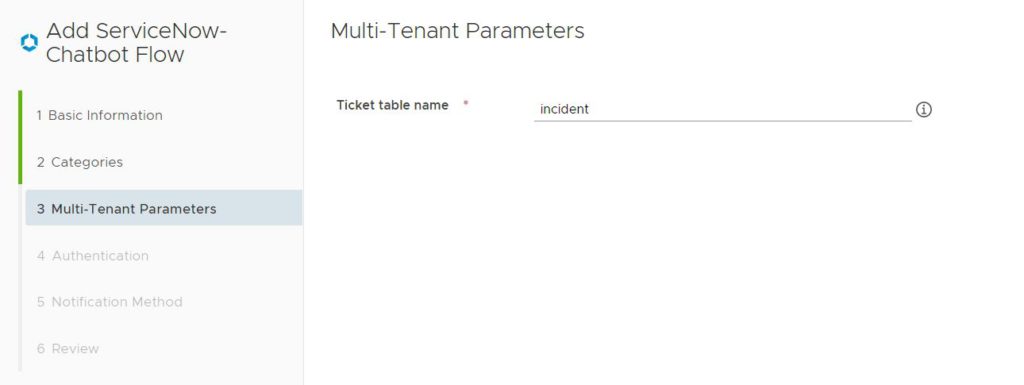
You can skip the “Category” part and change the “Ticket table name” to “incident”.

In the Authentication tab type the following:
- client_id: paste the client id from the OAUTH application in ServiceNow
- client_secret: paste the client secret from the OAUTH application in ServiceNow
- authorization_endpoint: https://dev12345service-now.com/oauth_auth.do (change 12345 to your ID)
- token_endpoint: https://dev12345.service-now.com/oauth_token.do (change 12345 to your ID)
Skip the “Notification Method” tab and submit the request.
When you created a Mobile Flow connector, the connector will trigger the discovery of the endpoint. If you want to see what the connector is actually doing, you can review the source code on GitHub.
You can also list all connectors via API GET call with your Bearer token:
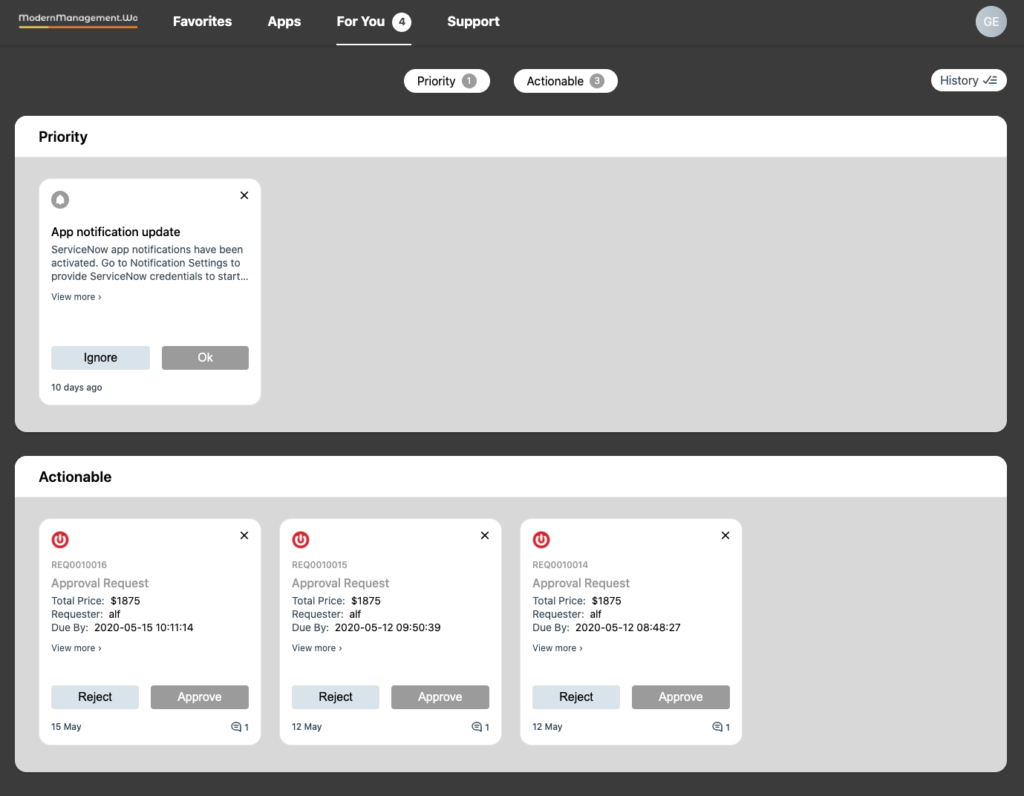
https://prod.hero.vmwservices.com/discovery/connectors?page=0&size=50The discovery will take 5 to 30 minutes, after this time the connector will provide automatically all functions to the end user and the end user will be informed that a new function is available via Intelligent HUB.

Conclusion
The initial setup of ServiceNow is quite hard work, but if configured once, the Mobile Flow power is unleashed. Together with the Virtual Assistant, end users will enjoy a whole new experience when performing standard tasks like creating tickets, approving expense reports, granting access to OneDrive files and so on.
Through the open source Mobile Flows connector nearly every API backend service can be used and you can even extend the Mobile Flows functionality to your on-premise environment.
Blog series overview
This blog post is part of a blog series. Please view also the other related posts: