REST API in Workspace ONE UEM!
REST API in Workspace ONE UEM:
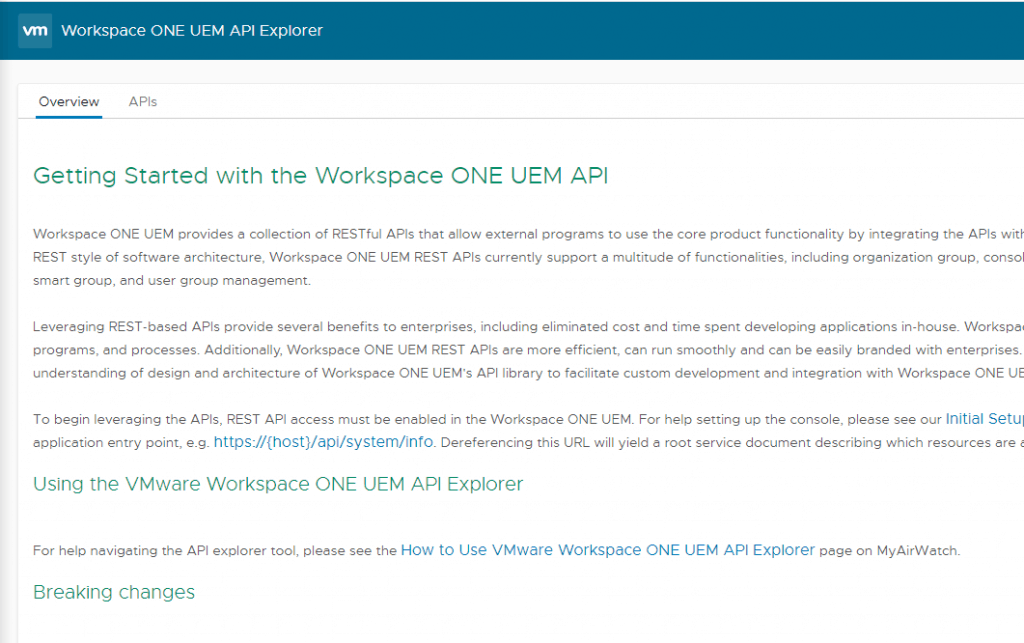
Workspace ONE UEM has a rich set of APIs that can be used for all sorts of useful things. They are based on the REST API standard. You can use these APIs in Workspace ONE to query devices, users, applications, or most of the tasks in the UEM console.
we will walk through how to use REST API in Workspace ONE UEM, connecting to UEM securely using the OAuth protocol or Basic auth to make API calls.
REST API:
The full URL for the API will look like below for SaaS and for on prem.
https://{host}/api/help
Below is the KB article to find out about VMware Workspace ONE API.
https://kb.vmware.com/s/article/2960676
Workspace ONE has different ways to authenticate via REST API, Basic Auth or OAuth. First, we will see how to create OAuth in UEM then we will do one example using Basic Auth.
VMware documentation for more info:
Using UEM Functionality with a REST API
OAuth:
OAuth (Open-Authentication) is the most secure and best way to connect and this is the way I’ll be demonstrating here.
Create a New OAuth Token
Creating an OAuth token in UEM is quite simple.
Go to Groups & Settings > Configurations.
In the empty field, search for OAuth.
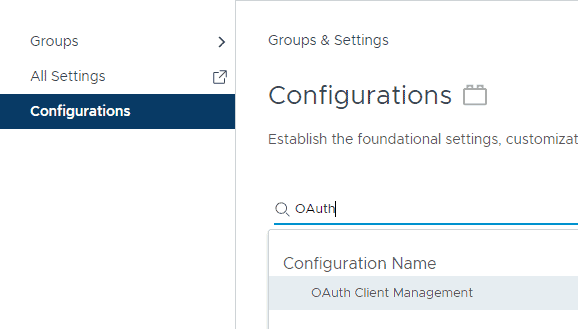
Click on OAuth Client Management
Here is where you can create one or more OAuth tokens for different services or scripts. To create a new one, click Add.
This will bring up the “Register a New Client” screen, and you’ll need to complete the fields.
Name: Name it something that pertains to it’s use.
Description: Add more details here. I recommend also adding your name and the date your created it.
Organization Group: Specify which OG this OAuth token will have access to. Start typing and it will bring up the list of available OGs.
Role: Give the level of permissions this token will give. The best practice is to create a list privelaged role that only has access to the API areas required. For now, I’ll set it to AirWatch Administrator.
Status: Ensure this is enabled.
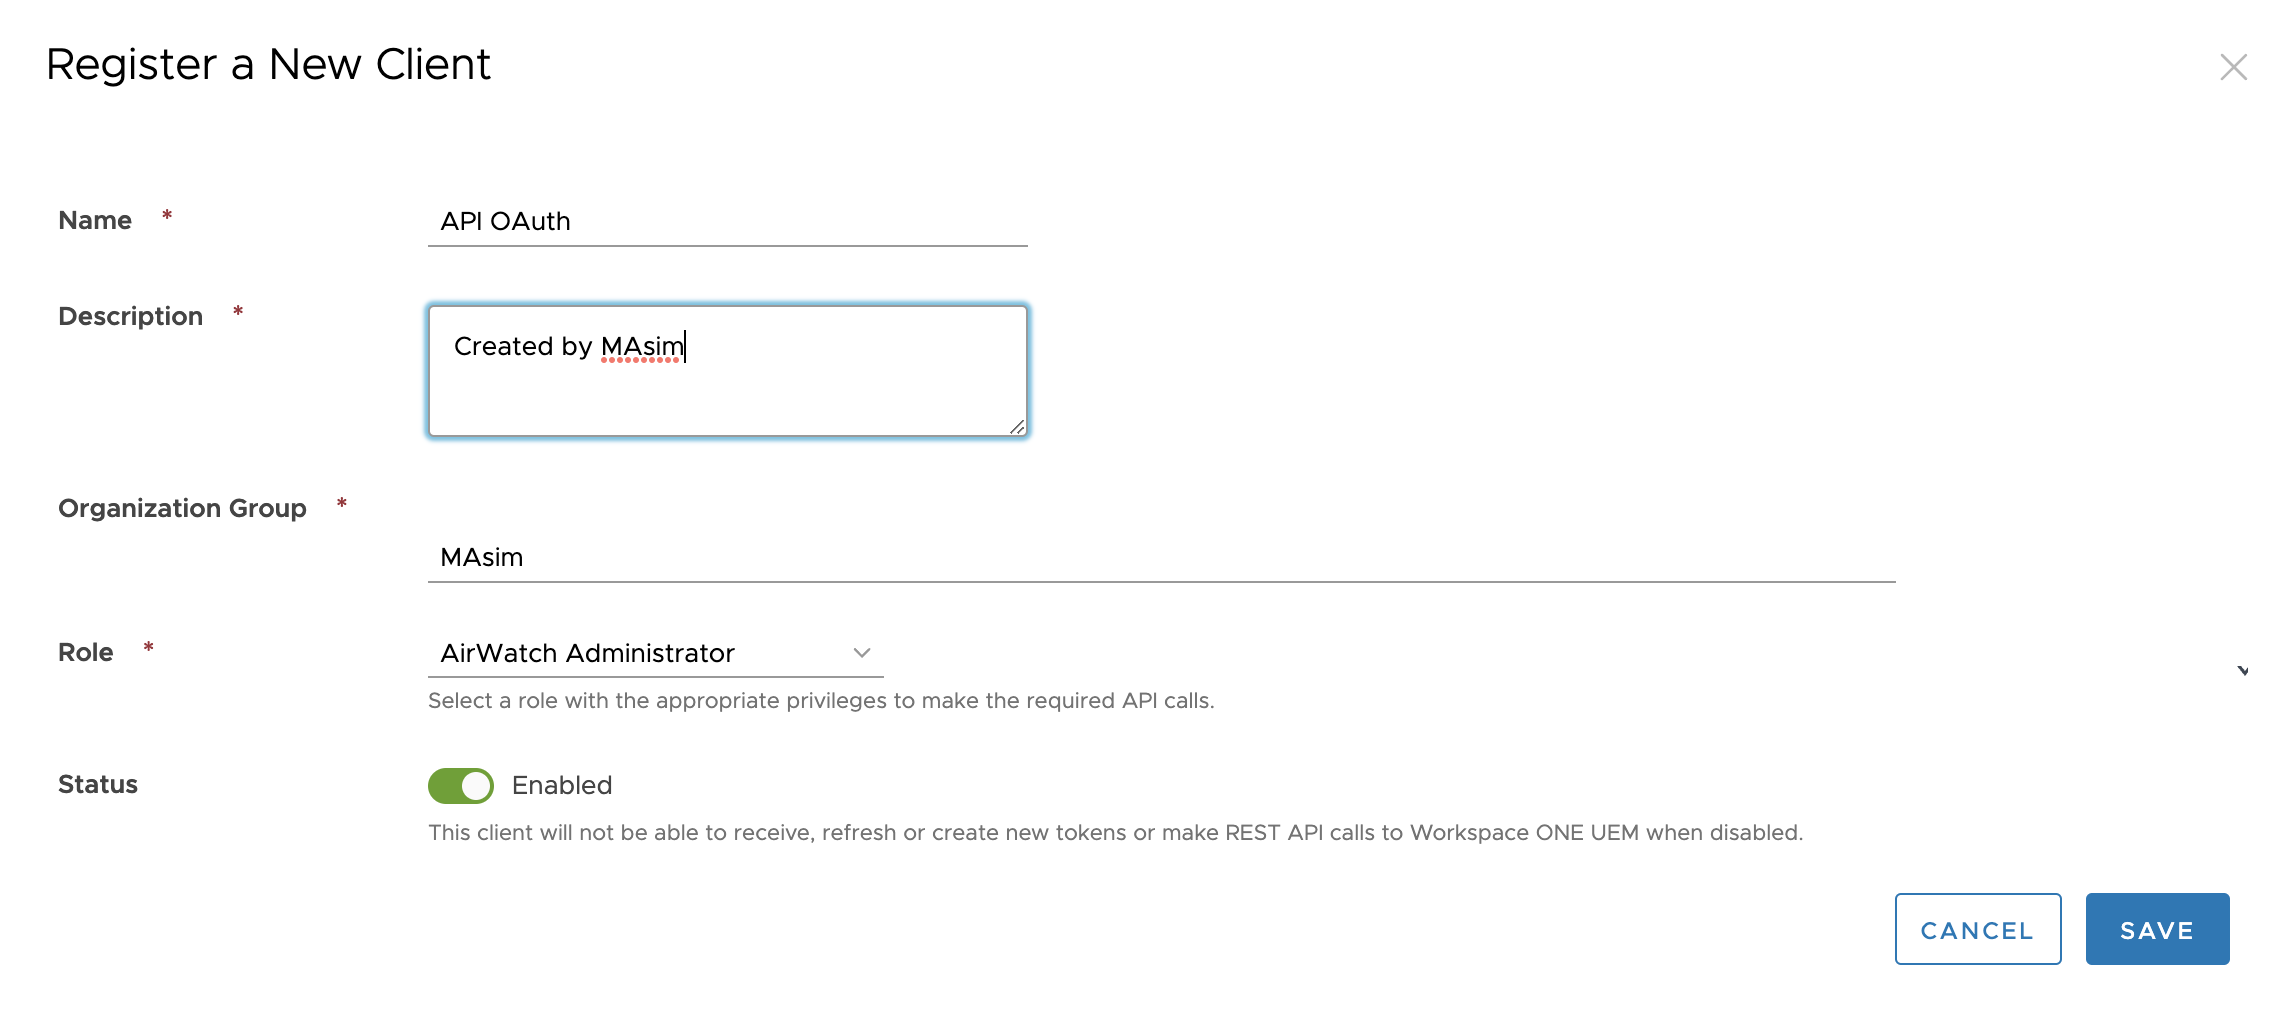 Registering a new OAuth Token
Click Save.
After this, a screen will appear that will contain two very important pieces of information: the Client ID and Client Secret. The Client Secret will only be displayed on this screen one time so be sure to save it off somewhere as you won’t be able to go back and retrieve it. You will need both of these items in order to make the correct API call.
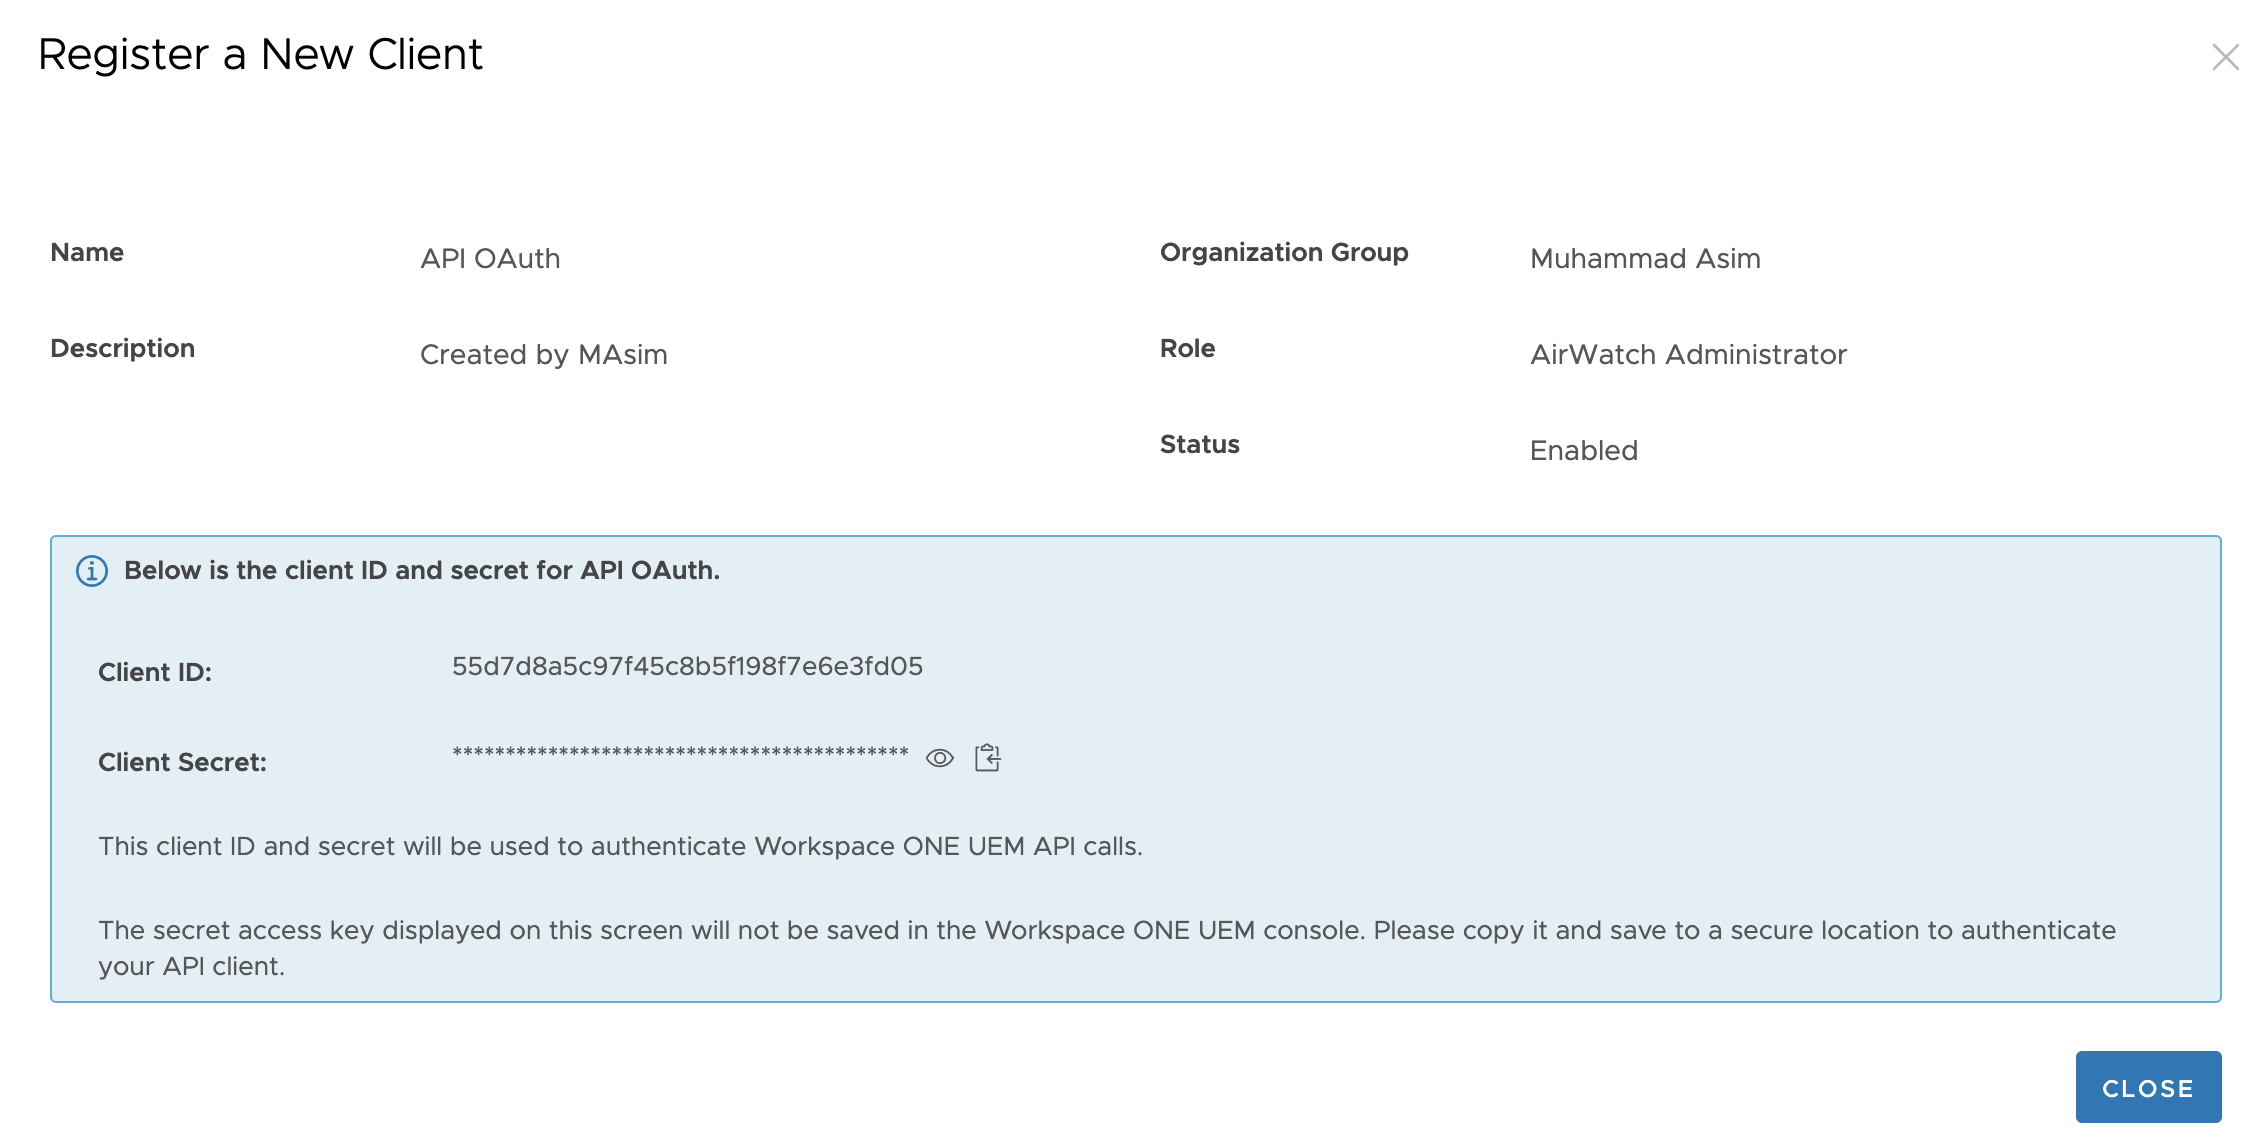 OAuth Client ID and Secret
Once you’ve saved both of these items, click Close. It should be listed now in the list.
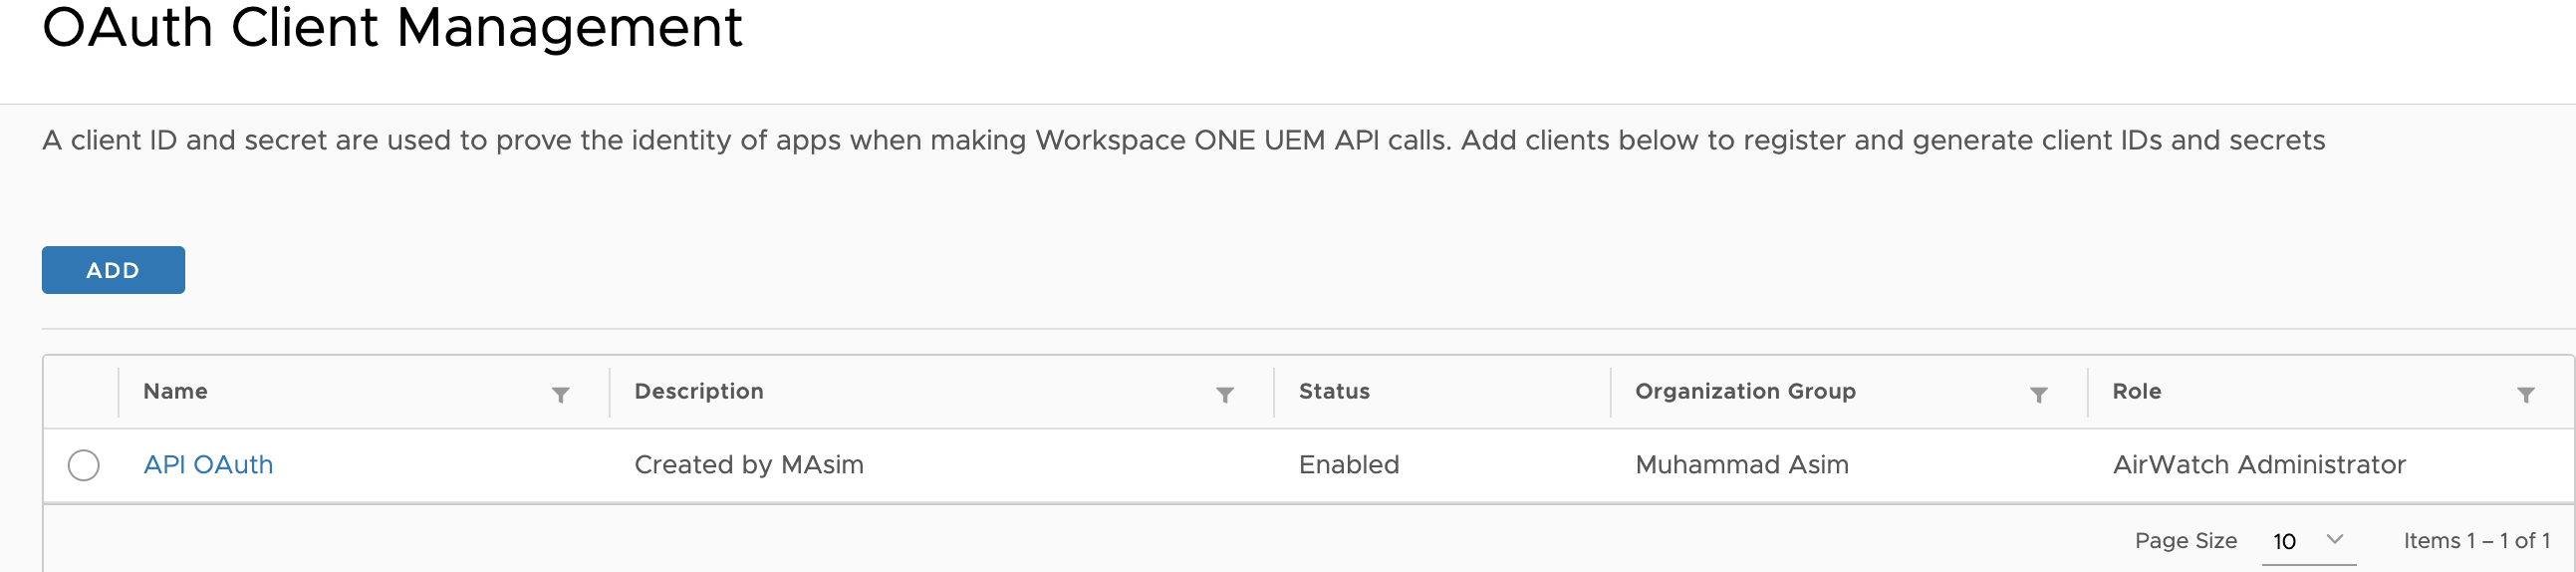
Now we have our OAuth token that could be used for authentication.
Searching the UEM API Help Pages
Every UEM console has its own auto-generated API help page. To access it, simply type your UEM server and add /api/help to the end:
Click on the APIs tab at the top. From here you will see each of the main API “sections” and different versions. They are:
MAM – Anything related to Mobile Applications
MCM – Anything related to AirWatch content (mostly deprecated at this point)
MDM – Mobile Device Management. I use this one a lot and it will contain devices, compliance, assignment groups, tags, and more.
MEM – Mobile email management
System – Console items, settings, events, admins, users and user groups, and more.
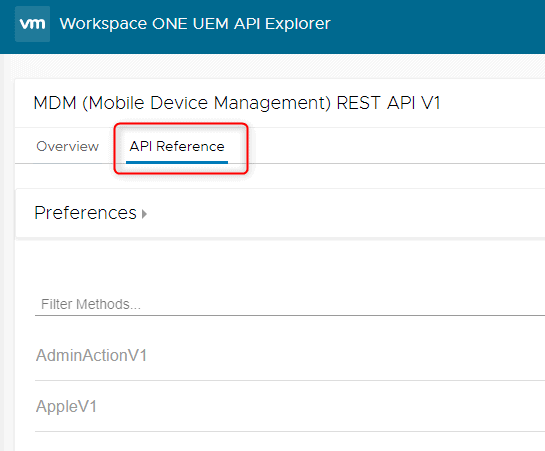
Let’s take MDM version one for example. Click on it and then navigate to API Reference
 API Reference
From here you can click on each API and it will show you the URI, some documentation around it, and the various methods supported.
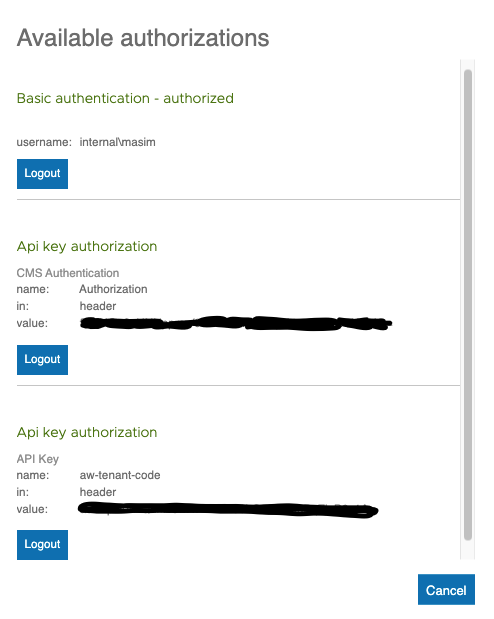
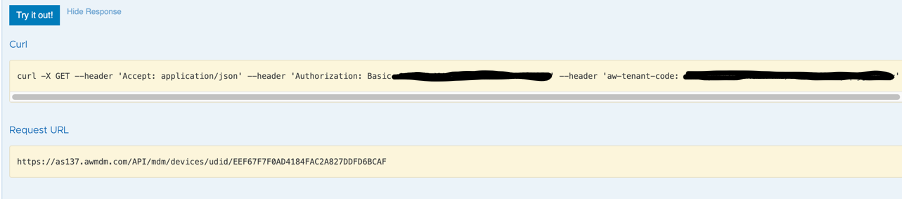
For example, the API we used is “Devices/udid/{udid}”. Before we try it out, we would need to populate some auth details on right side ( ![]() ) icon and then clicking Try It out populates the full URL and details:
) icon and then clicking Try It out populates the full URL and details:
Basic Auth API call using Postman :
There are multiple ways and tools available to run API calls. I used postman to do this using basic auth and you could also export commands from Postman if you like to do this in Powershell or different method.
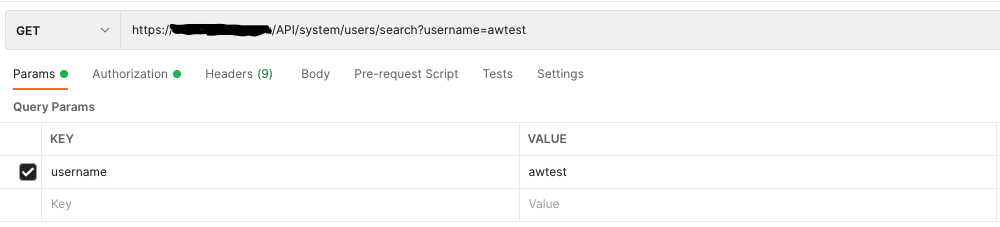
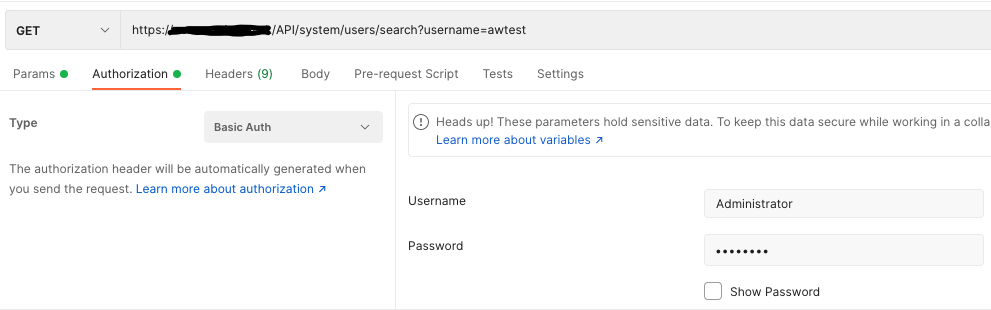
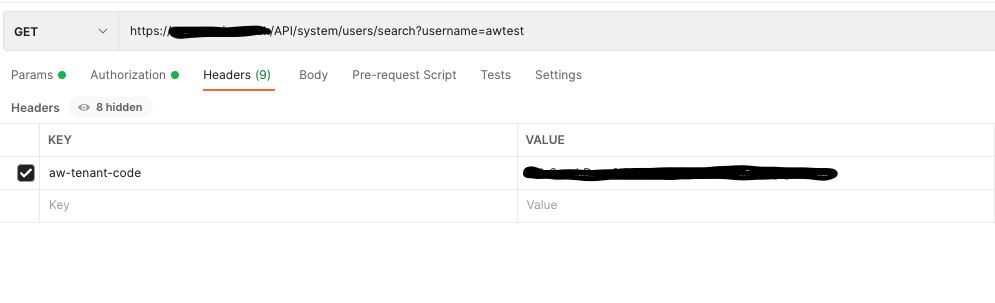
In this example we are going to search enrollment user details in UEM using UserName. There are few details we need to fill in postman before hitting send button.
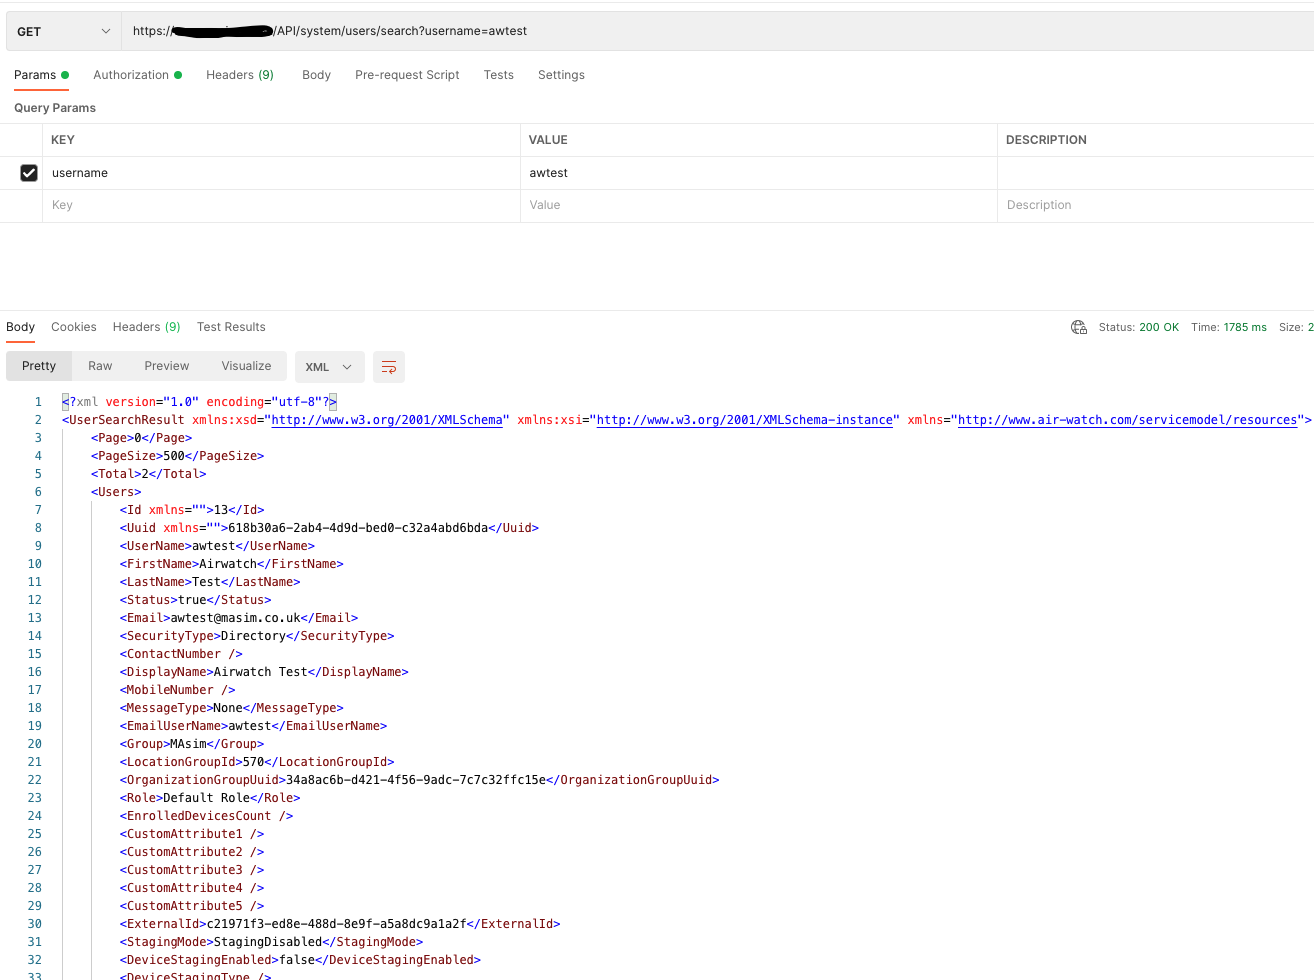
In screenshots you could see that under Params username is filled, under Authorization Basic Auth is selected and under Headers section aw-tenant-code is filled. Once all required field are entered then you would see the successful result in Postman.
{{apiHost}}/api/system/users/search}

Joined VMware in July 2015 as a consultant and worked in different BU over 7 years. Having experience in the IT industry of over 10 years with a Master's degree in IT.
Peter
Thank you for the excellent article! Could you please have a follow-up article on how to use oauth authentication with Postman and WS1 UEM APIs?
Muhammad Adnan Asim
Thanks for the feedback. yes, will do the postman and WS1 API auth using OAuth too.