Using SAML on Unified Access Gateway for the Admin UI
Update 1: Added 2207 Release for Reset of SAML Settings (July 18th 2022)
Omnissa recently released the Unified Access Gateway 2106, which includes some great new Features, one of them is, that you can enable SAML for Admin UI (on Port 9443) . So no more local Password on the UAG Admin UI & you can use Multi Factor Authentication with Omnissa Verify for example or whatever Authentication rules you set on Workspace ONE Access. The SAML Integration also possible with other IDPs like Okta or Azure.
For more information in the Unified Access Gateway please have a look on the Omnissa Docs : https://docs.omnissa.com/bundle/UnifiedAccessGatewayDeployandConfigureV2406/page/Deployingandconfiguring.html
Requirements
- UAG Version 2106 or newer
- IDP Metadata (Workspace ONE Access in my case)
- Entity ID (can be seen in the IDP Metadata)
This can be configured in a manual way in the GUI or automatic via the PowerShell settings. i will fist focus on the manual settings and then show how easy it is for the PowerShell method.
Manuel Settings in GUI
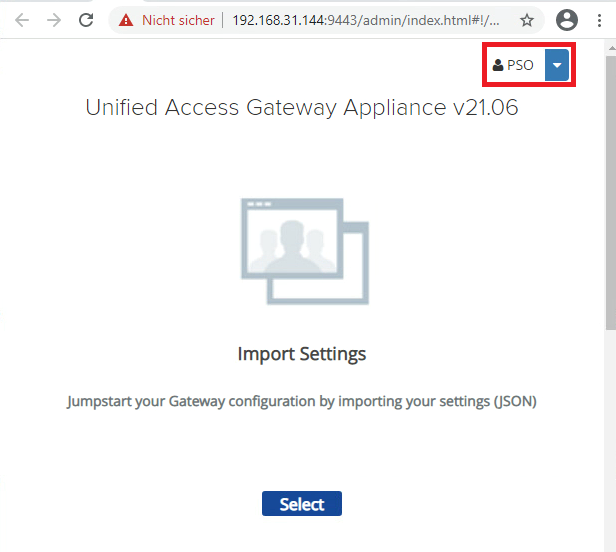
After the deployment of a UAG you can access the Admin interface on Port 9443 :
Once logged in you go to “Identity Bridging Settings ” and Select “Upload Identity Provided Metadata”

enter the “Entity ID” and Upload the IDP Metadata XML form your IDP (in my case Workspace ONE Access )
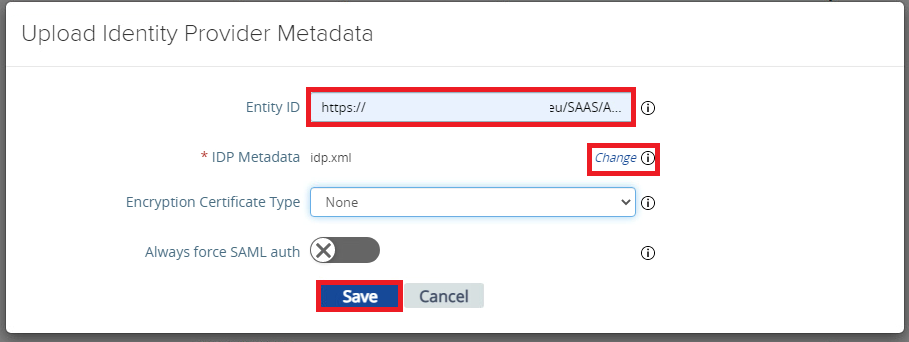
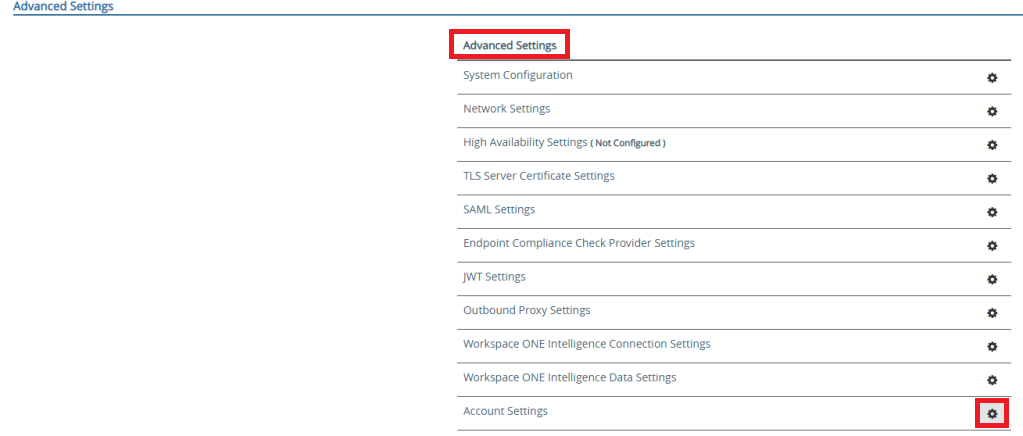
once done Click to “Save” and Click to “Account Settings” in the “Advanced Settings” section
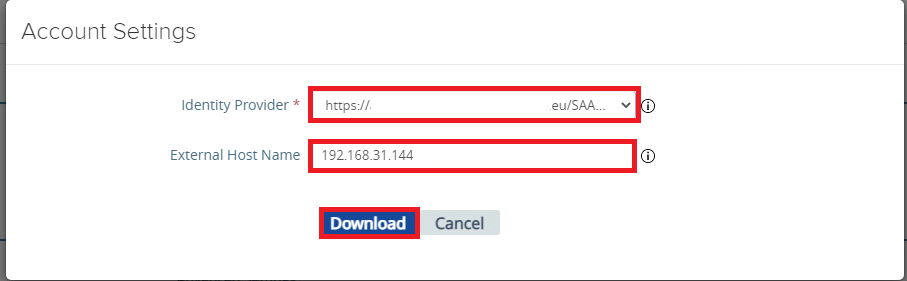
In the “Account Settings” screen activate the “Enable SAML Authentification” and select the Uploaded IDP. Here you can save the Settings if you want to specify the SP Settings on the IDP manually.
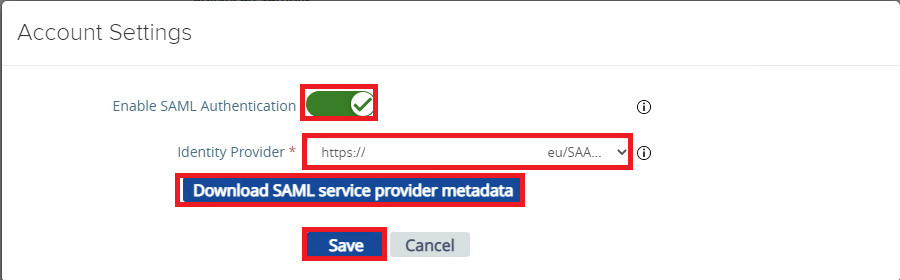
If you decide to download the SP Metadata, click to the “Download SAML service provider metadata” button. Once clicked enter the Hostname / IP that you use to access the singe UAG Appliance as Admin. As I did not setup DNS in my DMZ for that single UAG, so I used the IP here and downloaded the Metadata:
Now the settings on UAG side are done and the admin interface will shortly restart to enable the SAML for Admin UI feature. If your ID is already configured for the right Settings you are done now. I will show in the next Chapter how to add the SP Settings on WS1 Access
Manual Adding SP Metadata (not Required)
if you decide to not use the XML to Upload you can use the following data to be added on the IDP for the Application. Just preplace the {hostname} with the IP or the Hostname of the UAG that you use to access the UAG Admin UI:
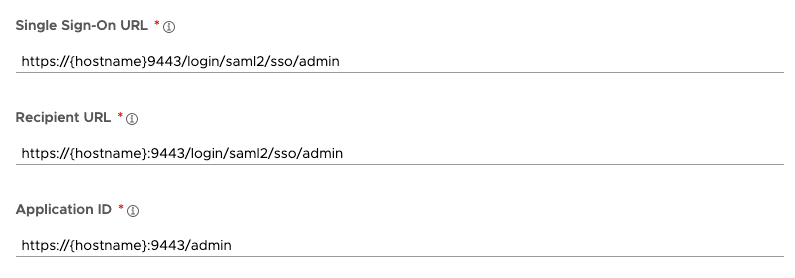
Add the following settings:
Single Sign on URL: https://{hostname}9443/login/saml2/sso/admin
Recipient URL: https://{hostname}:9443/login/saml2/sso/admin
Application ID: https://{hostname}:9443/admin
Using SP Metadata in Access
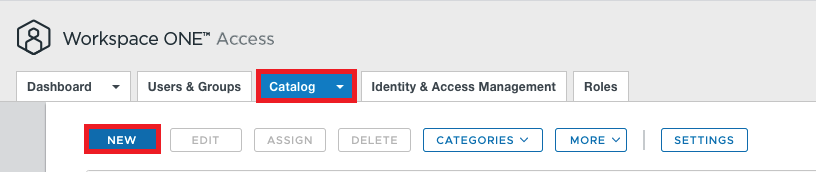
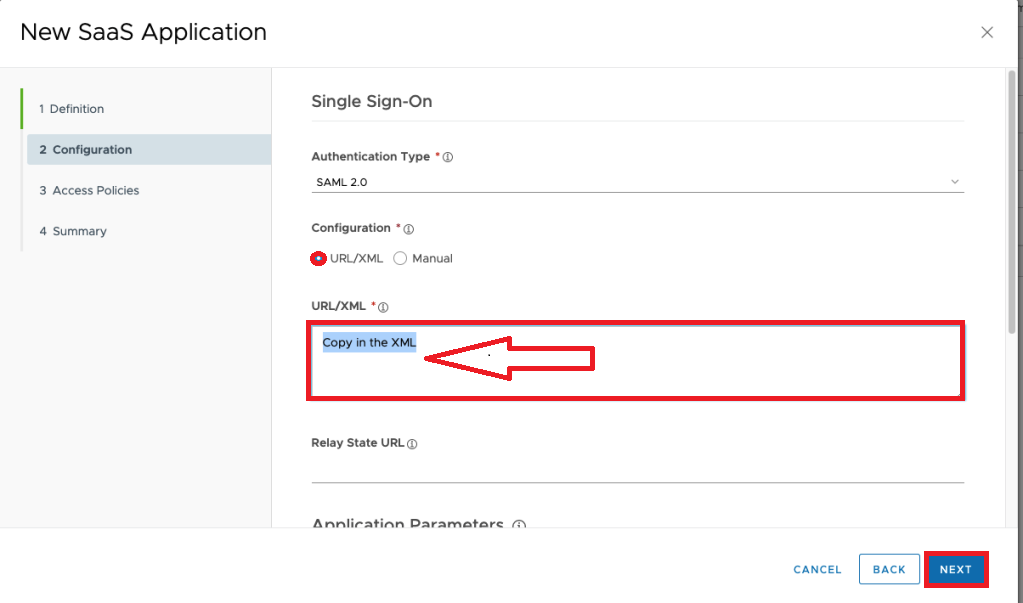
if you want to use the Metadata form UAG and add the application on the Catalog of WS1 Access then login on the Admin Console and click to “NEW”
Type in a Name for the Specific UAG (if you have Multiple UAGs the Name should make it clear which UAG this is.)
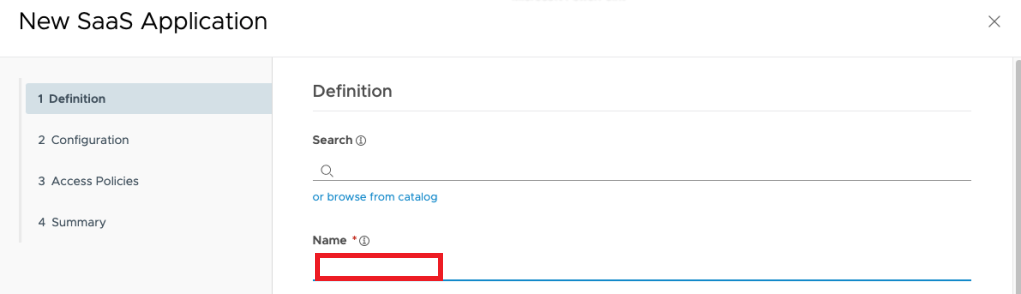
on the next screen you copy in the URL/XML box the downloaded Metadata form the UAG and click to Next.
If you want some separate Access policy then the default (like Restricting IPs, doing MFA with Verify etc. ) you can select a separate Policy :

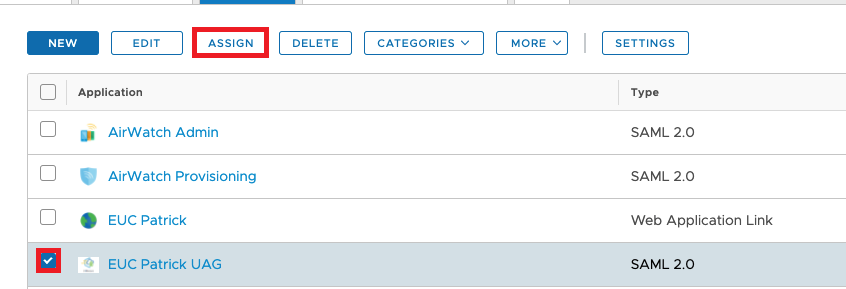
Once finished don´t forget to assign this Application the the UAG Admin Group , that only Admins can access the Admin Interface of UAG. Therefore click to “Assign”
The Admin experience
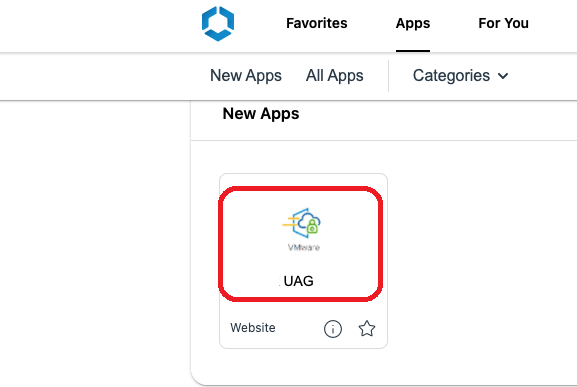
Once Logged in on the Workspace ONE Access you can then Selcet the the UAG Application and will have Single Sign On to the UAG:
you can also see your username in the right corner once logged in :
To view to overall Config on UAG and the Admin experience I crated a overview including all steps required:
PowerShell Settings of the Automatic Deployment
If you deploy UAG via PowerShell you simply can add the following lines to the Script and the above Settings are just a few lines:
[IDPExternalMetadata1]
metadataXmlFile=c:\temp\ps\IDPMetadata.xml
[adminSAMLSettings]
enable=true
entityId=https://YOURACCESSURL/SAAS/API/1.0/GET/metadata/idp.xml
you just need to replace the Entity URL with yours and add the IDP Metadata to that location it will be consumed and should work on first boot then. Also you do not need to update any Settings on WS1 Access as long the IP/Hostname stay the same.
What if I messed up SAML on UAG Admin UI ?
With the Version 2106 of UAG there is no “Disable SAML for Admin UI“ as long as you can not login due to failure of config. Once you login , you can disable it. But this should not be an issue, you simply redeploy UAG or do a snapshot first and then your are save and can just go back if some settings did not match.
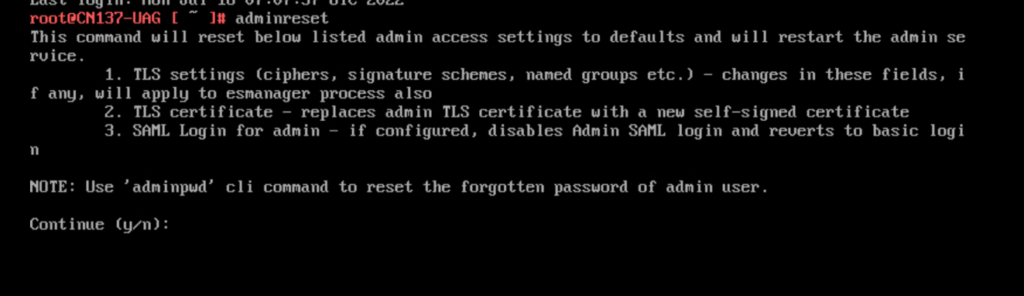
Update 1:
With the Version 2207 of UAG there is a new Command that can be used locally or via SSH to reset the SAML Login of admin. Just run adminreset and confirm with a “y” and you can login with the administrative credentials that you selected.
vExpert, blogger and VMware & Omnissa champion. Worked 10 years as a Architect for a partner before joining VMware in 2017. Moved to Omnissa in 2024.
Damian
Hi Patrick,
Nice guide, especially the useful option to reset the SAML login on v22.07
When I compare your guide to this one: https://www.technicalfellow.com/2021/07/notes-from-the-lab-vmware-uag-2106-and-admin-saml/ it says that you also need a valid certificate on the admin facing NIC but in your guide you can simply enter the IP address.
Could you clarify that please?
Many thanks!
Patrick Zoeller
If you are ok, to just “trust the Self Signed Cert” it works as well, best would be to have a Trusted Certificate on the UAG itself (Admin interface) , in my Lab I did not have that, so I used the IP and everything worked.