Workspace ONE Tunnel for Windows 10 Custom Configurations Overview
The Tunnel Client for Windows 10 is more and more growing there are some Custom Configurations that are not in the GUI for the Tunnel Profile as of the 21.05 UEM Release. So let us have a look on the most important Keys that are available in the Tunnel 2.1 Client, but not in the UI in the Admin Console.
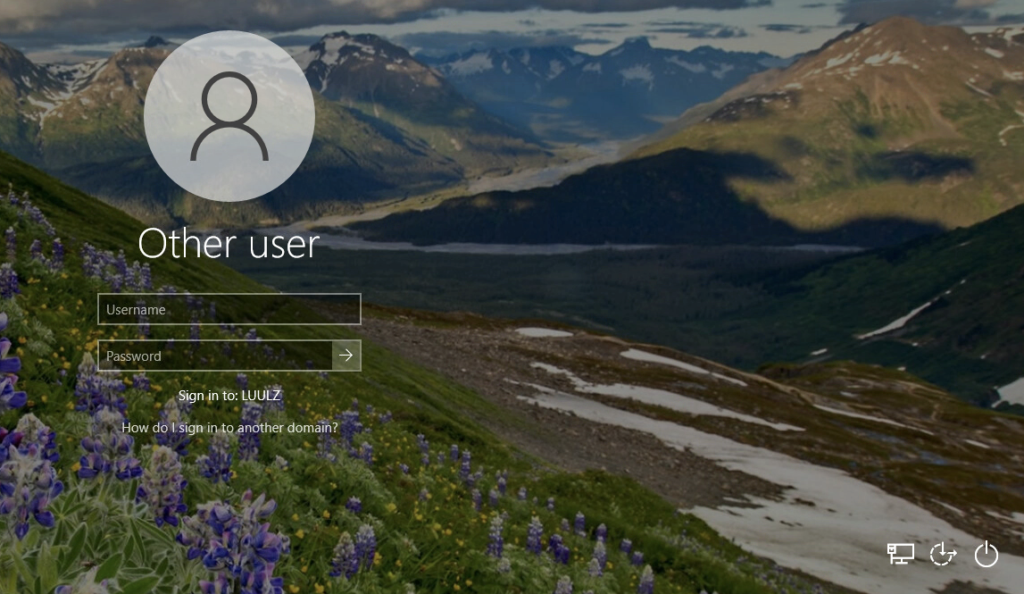
Tunnel enabled on Windows 10 Login Screen:
To enable the Tunnel Client on the Login screen the Follwing key can be added:
<StartTunnelPreLogon>true</StartTunnelPreLogon>The default value is set to “False”, so Tunnel will not be enabled on the Login Screen. If Domain joined Devices are used it is highly Recommended on using this setting to be set to „true“. This requires to be a device profile as User Profiles will not work for this setting.
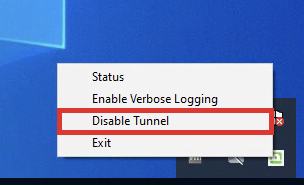
Allowing the User to disable Tunnel in GUI:
There might be Situations where Users want to disable the VPN , if this is is allowed by your company policy then this can be archived with the following Key:
<ToggleTunnelFeature>true</ToggleTunnelFeature>The default value is set to false, so Tunnel will not show the disable button in the Windows Task bar. If you want the user to disable the VPN Connection via Tunnel, you can set the this setting to „True“.
Keeping Tunnel always connected:
If you use per-App-VPN and you want to minimalize the time for connect you can use the OnDemand Setting to Connect Tunnel and keep it connected. While the normal behavior on that is that Tunnel connects if there is traffic matching the Device Traffic Rules, this setting makes sure Tunnel is always connected. It will not Change what traffic that is send over tunnel vs. bypassed/ proxied.
<OnDemand>False</OnDemand>The default value is set to “True”, so Tunnel only connect if required. If you want have Tunnel Connected all the time set it to “False”.
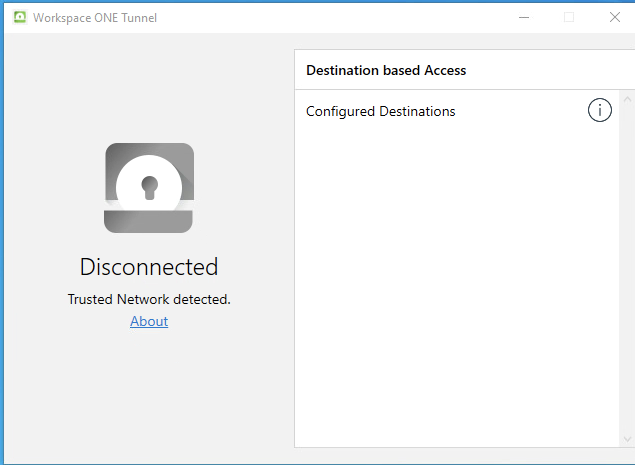
Using an Internal URL for Trusted Network Detection:
If you have Clients in the Internal Network that to not require VPN to connect to Enterprise Resources, you can use the “Trusted NetworkProbeURL” Setting. This will Check prior to establishing the Tunnel. This can be a Webservice hosted with http or https and is unrelated to the Trusted Network Detection which is using the DNS Connection Suffix in the Network Connection.
<TrustedNetworkProbeUrl>
https://intranet.EUCPatrick.net,http://intranet.digitalworkspace.one
</TrustedNetworkProbeUrl>
If you want to use this setting just enter the URL including the Protocol, if you want to use multiple URLs, just separate them with a comma. I used in the sample 2 URLs to of the Intranet where Tunnel is then bypassed for all Traffic if this URLs are reachable.
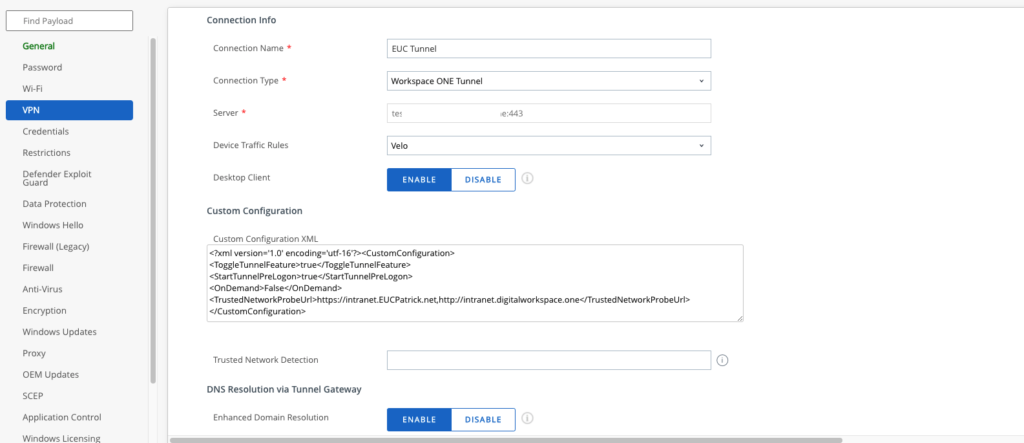
Adding Settings to the Profile
Now as we have learned some of the important Custom Configurations, lets put them to the VPN Profile of Windows.
I used the following Custom Configuration :
<?xml version='1.0' encoding='utf-16'?>
<CustomConfiguration>
<ToggleTunnelFeature>true</ToggleTunnelFeature>
<StartTunnelPreLogon>true</StartTunnelPreLogon>
<OnDemand>False</OnDemand>
<TrustedNetworkProbeUrl>https://intranet.EUCPatrick.net,http://intranet.digitalworkspace.one</TrustedNetworkProbeUrl>
</CustomConfiguration>
This can be copied in to the Custom Configuration XML Field in the Omnissa Tunnel VPN Profile. If you have already a Profile Created just add your required values and press the “Save & Publish” button.
Conclusion
Now as we have seen some of the important Keys for Workspace ONE Tunnel on Windows Desktop and have added them correctly to the Profile this is ready to use. Keep in mind only adding required Config and make sure you have tested this configuration before rolling it out to the field. This List is not complete , but is an overview of the most important settings. If you want to use them , make sure that you have supported versions for this configuration and you follow the documents form Omnissa.
vExpert, blogger and VMware & Omnissa champion. Worked 10 years as a Architect for a partner before joining VMware in 2017. Moved to Omnissa in 2024.