Certificate authentication for Workspace ONE API with PowerShell scripts
If you are looking for a way to run PowerShell scripts with certificate authentication to work with the Workspace ONE API, you will find several solutions. But no solution really worked.
In the API help you can review the supported authentications – e.g. here on CN137:
https://cn137.awmdm.com/API/help/InitialSetup.html
As you can see, Workspace ONE supports Basic, Directory and Certificate authentication. Basic and Directory should be clear. For certificate authentication there are two options: CMS and CMSURL. CMS might have some issues if you running GET commands. Thats why I’m using CMSURL since here we singing the URI – and not the message content – with our certificate.
There are three steps you need to do:
- Create an administrative user and a user certificate
- Import the certificate
- Run the script
Create an administrative user and a user certificate
Create a new administrator – it does not make a difference if it a directory or a basic user.
Make sure you choose the right role and organisation group. Before you hit “save”, navigate to the API tab and select “CERTIFICATES” instead of “USER CREDENTIALS”.

Create a password and hit “SAVE”. This will generate a certificate in the background. We now need to reopen the user settings and open the “API” tab again. This should look like this:

Type in the password of the certificate and export it – this will start the download of the certificate.
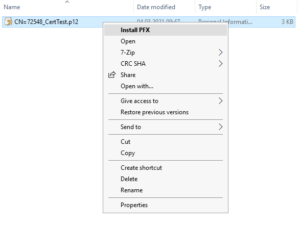
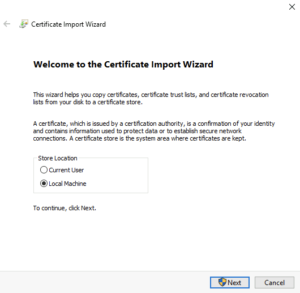
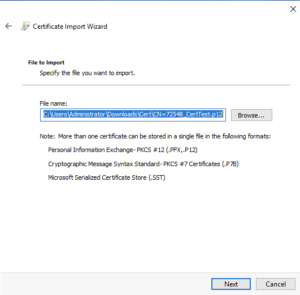
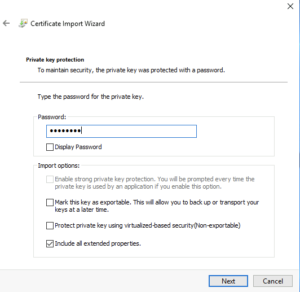
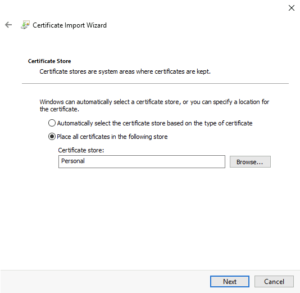
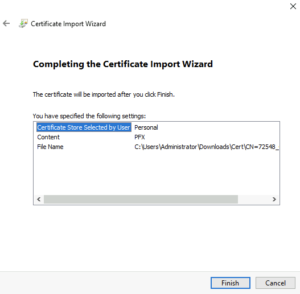
Copy the certificate file to the target computer and right click -> Install PFX
After you installed the certificate, you can verify the installation by opening “certlm.msc” and navigate to the “Personal” folder. You should see the certificate successfully installed:
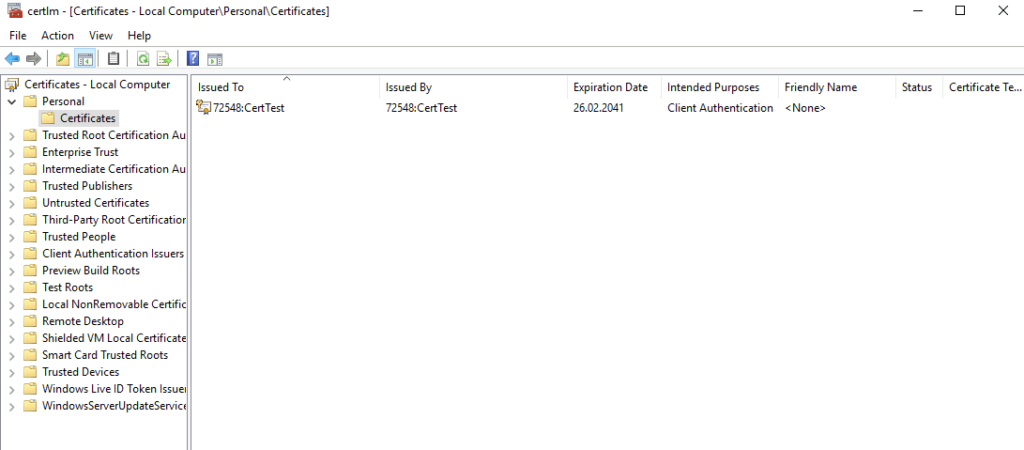
Please copy the certificate name – in my example it is “72548:CertTest”.
Now where we installed the certificate, we can use the certificate to authenticated against the Workspace ONE API.
The Code
I found a code that does not work anymore, but was able to update it.
This code is based on the blog article of Dexter see here but was updated due to header changes.
Add-Type -AssemblyName System.Security

function Get-CMSURLAuthorizationHeader
{
    [CmdletBinding()]
    [OutputType([string])]
    Param
    (
        # Input the URL to be
        [Parameter(Mandatory=$true,
                   ValueFromPipelineByPropertyName=$true,
                   Position=0)]
        [uri]$URL,

        # Specify the Certificate to be used
        [Parameter(Mandatory=$true,
                    ValueFromPipeline)]
        [System.Security.Cryptography.X509Certificates.X509Certificate2]
        $Certificate
    )

    Begin
    {
        Write-Verbose -Message '[Get-CMSURLAuthorizationHeader] - Starting Function'

    }
    Process
    {
       TRY
       {
            #Get the Absolute Path of the URL encoded in UTF8
            $bytes = [System.Text.Encoding]::UTF8.GetBytes(($Url.AbsolutePath))

            #Open Memory Stream passing the encoded bytes
            $MemStream = New-Object -TypeName System.Security.Cryptography.Pkcs.ContentInfo -ArgumentList (,$bytes) -ErrorAction Stop

            #Create the Signed CMS Object providing the ContentInfo (from Above) and True specifying that this is for a detached signature
            $SignedCMS = New-Object -TypeName System.Security.Cryptography.Pkcs.SignedCms -ArgumentList $MemStream,$true -ErrorAction Stop

            #Create an instance of the CMSigner class - this class object provide signing functionality
            $CMSigner = New-Object -TypeName System.Security.Cryptography.Pkcs.CmsSigner -ArgumentList $Certificate -Property @{IncludeOption = [System.Security.Cryptography.X509Certificates.X509IncludeOption]::EndCertOnly} -ErrorAction Stop

            #Add the current time as one of the signing attribute
            $null = $CMSigner.SignedAttributes.Add((New-Object -TypeName System.Security.Cryptography.Pkcs.Pkcs9SigningTime))

            #Compute the Signatur
            $SignedCMS.ComputeSignature($CMSigner)

            #As per the documentation the authorization header needs to be in the format 'CMSURL `1 <Signed Content>'
            #One can change this value as per the format the Vendor's REST API documentation wants.
            $CMSHeader = '{0}{1}{2}' -f 'CMSURL','`1 ',$([System.Convert]::ToBase64String(($SignedCMS.Encode())))
            Write-Output -InputObject $CMSHeader
        }
        Catch
        {
            Write-Error -Exception $_.exception -ErrorAction stop
        }
    }
    End
    {
        Write-Verbose -Message '[Get-CMSURLAuthorizationHeader] - Ending Function'
    }
}


#Paste the REST API URL below For Ex: https://host/API/mdm/devices/12772
$Url = 'https://as137.awmdm.com/API/mdm/devices/12772'

# This is the Client Certificate issued and has been imported to the Certificate store on my Machine
# You can also import the certificate to the user store
$Certificate = Get-ChildItem -Path Cert:\LocalMachine\my | Where-Object Subject -eq 'CN=72548:CertTest'


        #generate API Credentials
        $Auth = "$(Get-CMSURLAuthorizationHeader -URL $Url -Certificate $Certificate)"
        $AWTenantCode = "F5yX24iaEoIZtLqwerOyUFLOE4nZEMSvnjes8="

        #generate header
        $Headers     = @{"Authorization" = $Auth; "aw-tenant-code" = $AWTenantCode}
        $ContentType = 'application/json'

        #Run the API command
        Invoke-RestMethod -Uri $Url -Headers $Headers -ContentType $ContentType
This script will get device information for a specific device.
You need to change the following variables:
- $URL – This is the API URL
- $Certificate – you need to paste the certificate name behind the “CN=”
- $AWTenantCode – paste your API tenant code here
Basically, you only need to change the $URL if you run multiple commands in the script.
Empowering customers in client management since 2012.
Empowering customers in modern management since 2018.
