Android Enterprise: Enrollment QR-Code Generation & Customisation
The Android Enterprise enrolment sometimes can be challenging if not all pre-Reqs are met or some custom settings are required. Especially if you want to enroll a device without KME or ZeroTouch to a COPE/ Work Managed mode a QR-Code Enrollment is a good alternative. But there are also some custom settings available that can help you on improving the Enrollment.
In this Blog we will go over the QR-Code creation in Console , will go over the most used settings (that are not all in the GUI) and explain the Structure of the QR-Code and its Generation if using manual steps to create it.
Create the QR-Code in the Console
While in the Console the Process is quite easy it can get complicated with the QR-Codes if you want to add some extras that are not in Console GUI available.
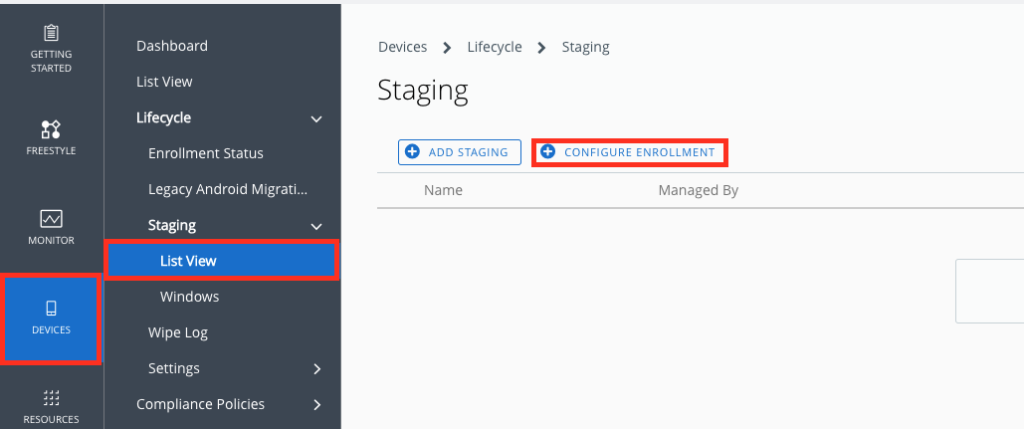
If you want to create a QR-Code in Console for Android Enterprise Enrollment , you can go to “Devices”, “Lifecycle”, “Staging”, “List View” and Click to “Configure Enrollment”
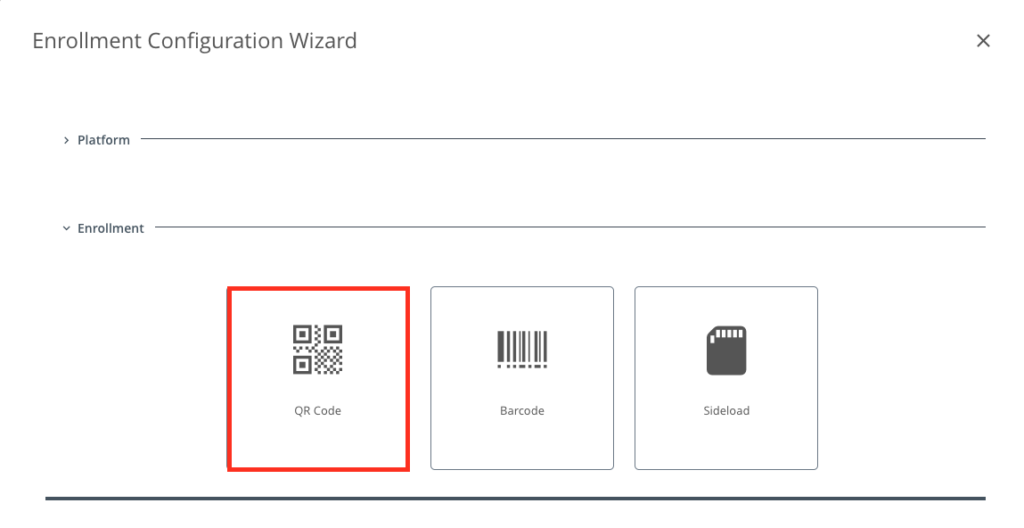
once there, select Android as Platform

Now, Select the “QR Code Option” to generate a QR Code after specifying the details.
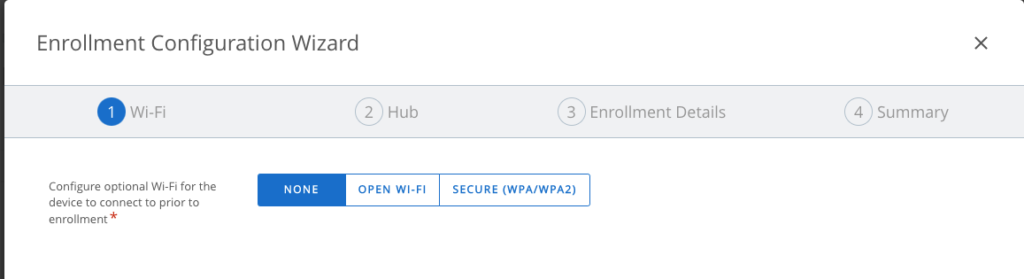
First we can add the Wifi Config to the QR-Code, if required add the Wifi details here:
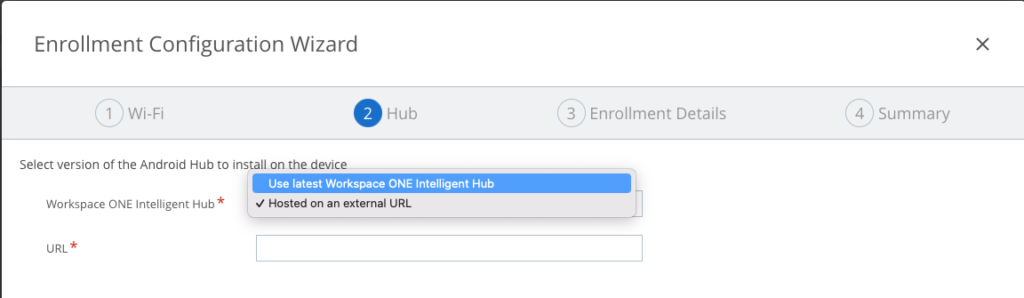
next, we can specify if we want to use the latest GA Hub or a File that is hosted on a Webservice. This is useful if you want to enroll in with a specific version or you want to have the control over the used versions:
In Step 3 you can specify the OG you want to enroll from the dropdown. Also if you want to pre-seed the Username and Password this can be done here. Especially for Staging Users this is a common use-Case to have Username and Password. But be aware, this data is not encrypted in the QR-Code you you can read it out by using a normal QR-Code Scanner. Also you can specify if System Apps should be enabled or just the limited Subset. If you use AOSP Devices , make sure you enable AOSP Mode here as well.

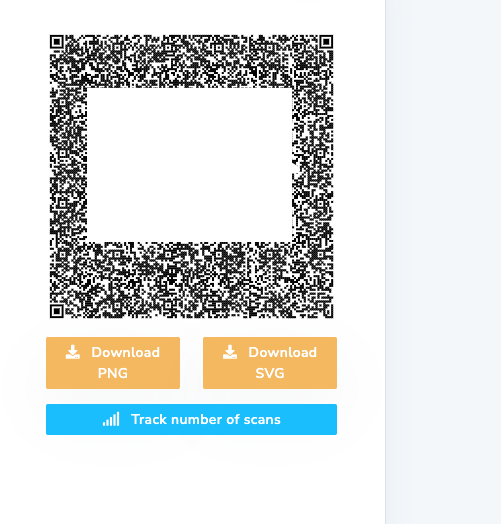
Now you can Download the File with the QR-Code

To start enrollment you just need to klick 6 times on the Startscreen on initial bootup (before setting up anything) .
To show the full process a bit better I created a Video with the console buttons:
Reverse Engineering the QR-Code
Now , let’s use the Generated QR-code and check the Content inside. I used the following QR-Code (OG, Username & Password are fake) here and encode it:
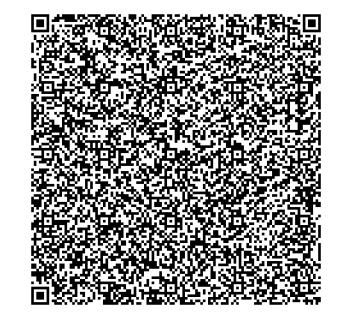
If we extract the content we see the following content.
{
"android.app.extra.PROVISIONING_DEVICE_ADMIN_COMPONENT_NAME":"com.airwatch.androidagent/com.airwatch.agent.DeviceAdministratorReceiver",

"android.app.extra.PROVISIONING_DEVICE_ADMIN_SIGNATURE_CHECKSUM":"6kyqxDOjgS30jvQuzh4uvHPk-0bmAD-1QU7vtW7i_o8=\n",

"android.app.extra.PROVISIONING_DEVICE_ADMIN_PACKAGE_DOWNLOAD_LOCATION":"https://discovery.awmdm.com/mobileenrollment/airwatchagent.apk",

"android.app.extra.PROVISIONING_SKIP_ENCRYPTION":false,

"android.app.extra.PROVISIONING_LEAVE_ALL_SYSTEM_APPS_ENABLED":true,

"android.app.extra.PROVISIONING_ADMIN_EXTRAS_BUNDLE":
{
"serverurl":"ds801.awmdm.com",
"gid":"NG",
"un":"Username",
"pw":"Password"
}
}
if you want to modify the android.app.extra.PROVISIONING_ADMIN_EXTRAS_BUNDLE part you can do so, also I documented down the most common things for this setting in the blog on Samsung Knox Mobile Enrollment here:
https://digitalworkspace.one/2022/02/28/use-samsung-knox-mobile-enrollment-to-empower-the-enrollment-of-samsung-devices-to-ws1-uem/
As KME has an extra option for adding Trusted Root CAs I did not mention it in the blog of KME , but it is also supported to add the Root CA in the QR-Code and also in ZeroTouch . Just add the Following to the android.app.extra.PROVISIONING_ADMIN_EXTRAS_BUNDLE and replace the BASE64CERT with the real Base64 Certificate data of the Root CA you want to add. Note: This is only supported in Work Managed Enrolment (DO Mode) not on COPE.
“workManagedCertData”:[“BASE64CERT”]
If you want to add some extra provisioning settings like the Android 13 Offline enrollment setting, then use just add the Following in front of “android.app.extra.PROVISIONING_ADMIN_EXTRAS_BUNDLE” to the Text:
“android.app.extra.PROVISIONING_ALLOW_OFFLINE”: true,
Also you can specify the Local that the Language is set by default the the Language you require. A sample would be:
“android.app.extra.PROVISIONING_LOCALE”:”en_GB”,
There might be other settings possible as well, but I just used this sample settings as I tested them on my Devices and they worked.
Create the QR-Code manually
Once you have everything ready you can use whatever QR-Code Generator you want , just make sure you select the Text option and paste in the QR-Code.
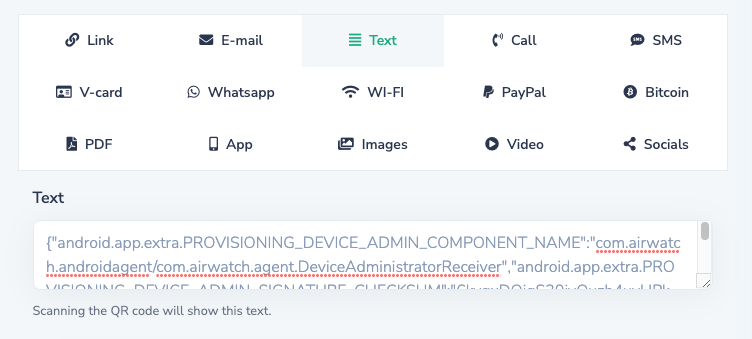
Also make sure you use the double quotation mark and not the left double quotation mark, as sometimes Autocorrect can break things depending on the Region.
Enrolling a Device
Now as you have the QR-Code created , let use it to enroll a Device.
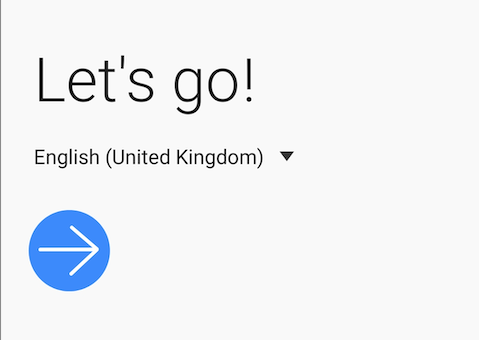
On the screen from Initial startup (Factory Reset) click six times to the “Let´s go!”until the QR-Code Scanner starts. Some older devices, like my Samsung S8 with Android 7 it requires Wifi or Mobile Data to first download the QR-Code Reader automatically. On my Android 9+ Devices it works without any downloads required. Once the QR-Code Scanner is open just scan the QR-Code and the device will enroll with the Settings you specified in the QR-Code.
As you have now seen the Logic behind the QR-Codes and how to create them , you can just change or add settings once they come out in beta already (like the offline Devices of Android 13)
vExpert, blogger and VMware & Omnissa champion. Worked 10 years as a Architect for a partner before joining VMware in 2017. Moved to Omnissa in 2024.
Aleksander
Hello! If we insert base64 text of our self-signed certificate (4096) into block “workManagedCertData”:[“BASE64CERT”] then we can’t generate a new one. Updated XML is being too large for a new QR generation. Maybe you have some idea for workaround this issue?
Thank you for your article!
Patrick Zoeller
Yes, this is true , sometimes it gets to big . If you have Zero Touch or KME you can also add the Root CA there.
Lansana marah
I want my own QR codes
Kyle
Hello! Do you know of a way for the Wi-Fi portion of the enrollment to use WPA2 Enterprise? While a cert is installed post-enrollment, during the initial enrollment, we need to enter an SSID, user, and password, which is not an option.
Thanks,
Kyle
Patrick Zoeller
Hi Kyle,
While you can add a Wifi with WPA etc. it will not work for Cert based Wifi. If you have Zebra or Honeywell Devices they offer some capability in StageNow / Provisionier. but as the Cert needs to be there before UEM / Hub this is nothing that Omnissa can solve. Also if you would have the Cert. inc. private key in the QR-Code this would be a very weak CBA Wifi, so I would recommend to go with a “open Staging Wifi” or mobile Data and once enrollment is finished , switch to the CBA Wifi.
best regards
Patrick
andrew brown
Hey how do i get a real username and password?
Patrick Zoeller
Hi Andrew,
Username and Password can be used in the QR-Code for Staging or for Frontline / Kiosk Use Cases.
I would not recommend spreading the QR-Code widely as it has the Password in Clear text.
You can create a Basic user in UEM and define the password.
best regards
Patrick
Kenny-Lee
As mentioned make sure you use text. In my case I did and many of the generators would still create a weblink anyway to display the text output. For me what worked right away was using https://high-qr-code-generator.com, code entered with no spaces.