How to setup Omnissa Tunnel on Standalone macOS Devices
As macOS is coming more and more a platform in Business there is sometimes the need to run a VPN Client on an unmanaged device or on a 3rd party Managed Device. While you can reuse the investment in Omnissa Tunnel on UAG and just add the macOS Devices as “App Registered” with the latest Tunnel Version 22.05.(not available in Apple AppStore, only via Resource Portal for standalone Mode).
Pre-Reqs:
- Existing Omnissa Tunnel deployment (on UAG or Container)
- macOS Device version 11+
- Omnissa Tunnel 22.05 or newer (Download via the WS1 Resource Portal )
- UEM 22.03 or newer
Allowing to enroll via Tunnel App
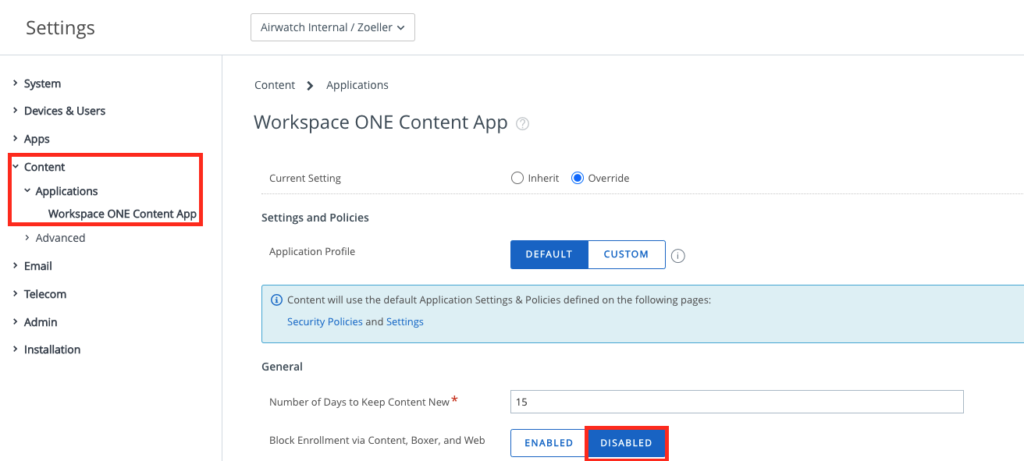
If you have not used App-Enrolment in the past there is a Setting that need to be set to allow the Devices to do an Registration via Productivity Apps. I highly suggest doing this a separate OG to for the macOS Standalone Enrolled devices. To set this go to the Settings, “Content” , “Applications” and then “Workspace ONE Content App” there make Sure your have “Disabled the Block enrollment for the Productivity Apps.
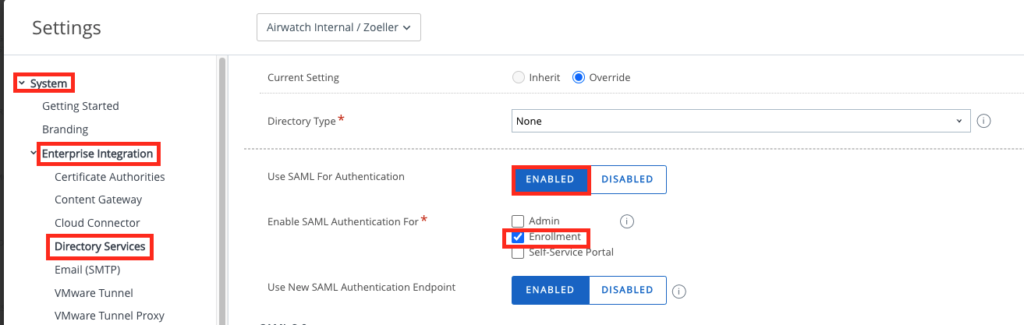
In case you want to use SAML for MFA you can enable this in the System Settings , Enterprise Integration and then the Directory Services. Here you can Add a SAML Provider , in my Case I used Workspace ONE Access. Make sure you enable “Enrollment” that the Authentication will be done on Enrollment with SAML instead of Basic Auth.
Creating the Profile
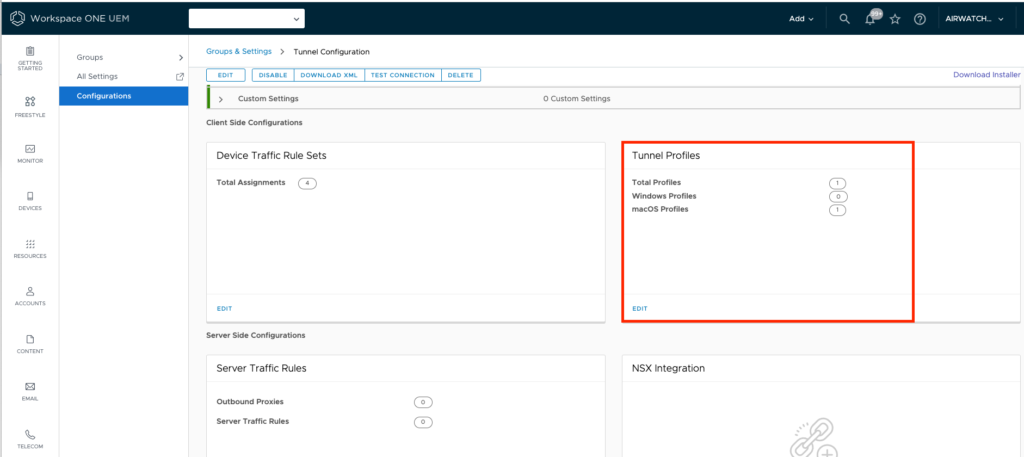
the macOS Standalone Tunnel will not work with the normal Profiles. It will only work with the “Tunnel Profiles in the Tunnel Config. To Create a Profile go to the Tunnel Settings Groups and Settings –> All Settings –> System –> Enterprise Integration –> Omnissa Tunnel
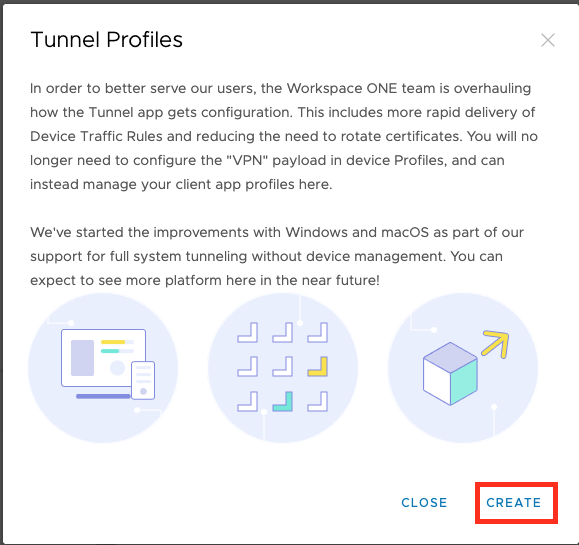
Once there the new UEM Versions in 2022 Releases have a “Tunnel Profiles” Section, where you can click “GET STARTED” :

once there you can create the Standalone Tunnel Profiles:
Click to macOS and then the “ADD” Button to add a Configuration;
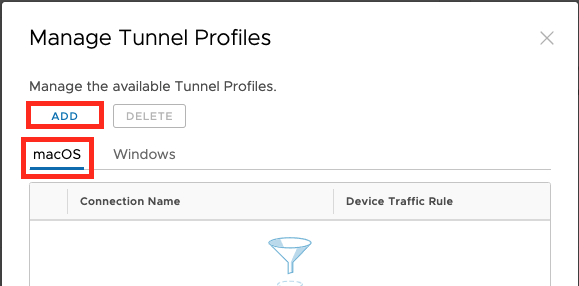
Note: As of now (January 2022) only one Tunnel config can be created per Platform.
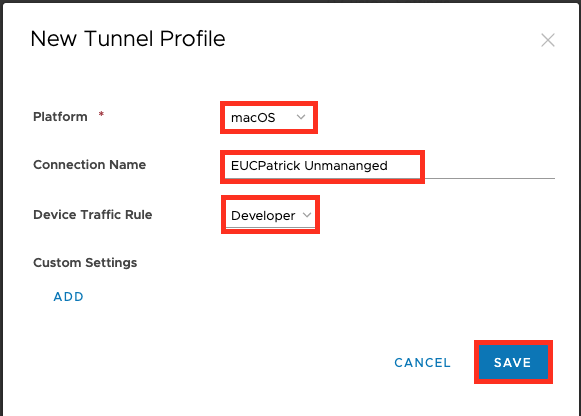
Select the Platform, Give it a name and select the “Device Traffic Rules” that you want to apply.
In the first version it is not a Per-App VPN , it is a Full Device VPN with Managed Destinations via Device Traffic Rule only.
In Case you want to add some Custom Settings there is a option here, once Finished Click to “Save” .
No all the Console side Settings are done.
I have used Omnissa Tunnel Service hosted on UAG.
Enrolling a Device:
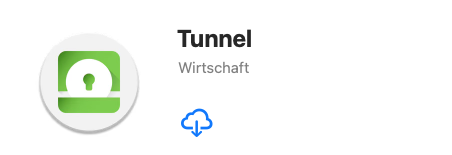
First install the Tunnel App, this can be done via 3rd Party MDM or manual by the User:
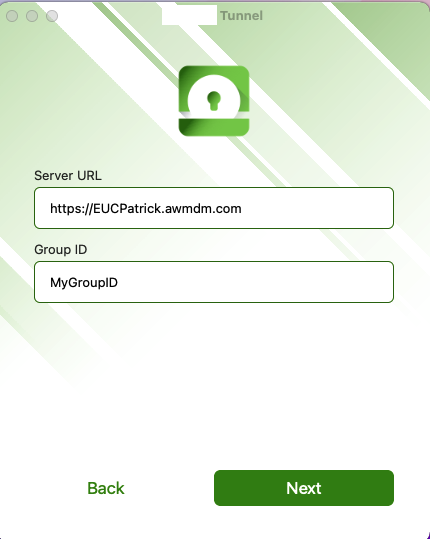
Once downloaded your can enroll the App to UEM. Here you can enter a Email address in case you use Autodiscover, or you can just enter the Device Services Address of your UEM Environment.
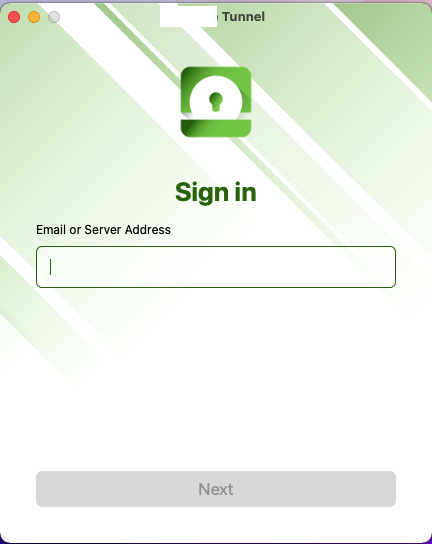
if you go with the DS Address , you need to enter the Group ID and then click to next
if you have Basic Auth Enabled , it will show you the Username & Password fields, When SAML is used it will redirect to the SAML Endpoint to Authenticate the User on the Device.

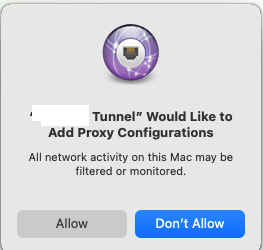
Once Authenticated via SAML (can also work passwordless) or with Basic Auth you need to Allow Tunnel to Add Proxy Confiugurations:
Now the device downloads the Tunnel Configuration , applies it and connects to the backend once needed.
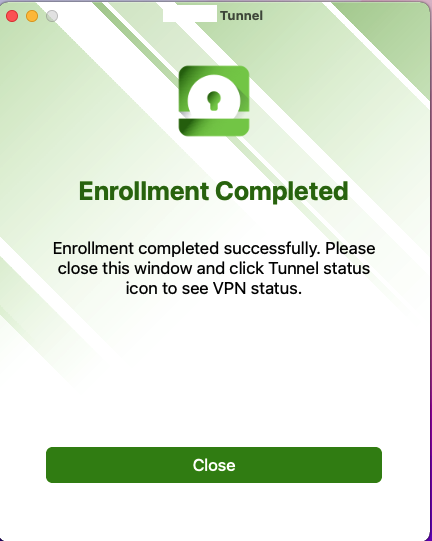
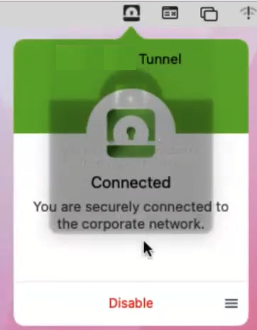
You have successfully Enrolled and enabled the Tunnel on an Unmanaged Device. If you want to disable the Tunnel there is a button for this in the Menu bar.
Device Expierence
As we have all the Settings and a device enrolled I want to show here the End to End Experience when doing a Enrollment with SAML , using Cloud Web Security to block Twitter Website and Accessing the rest via VPN Tunnel by Omnissa Workspace ONE Tunnel.
vExpert, blogger and VMware & Omnissa champion. Worked 10 years as a Architect for a partner before joining VMware in 2017. Moved to Omnissa in 2024.
Kenny
This is great, thank you Patrick.