Omnissa WS1 Access Integration for VMware SD-WAN VeloCloud Orchestrator
When using the VMware SD-WAN (also known as VeloCloud) Admin UI we can use Omnissa WS1 Access as IDP , so we do need to manually provision the users , add the roles and set the unsecure Passwords. Instead we can use the full power of Workspace ONE Access with Multi Factor Authentication , SSO and all the nice things that are there. So I want to show the required Steps to set this up.
Setup OIDC in Access
First login to Workspace ONE Access and go to the Settings , there click to the “Remote App Access”

Once there Click to “Create Client”, then Create a new “User Access Token” , give it a “Client ID” (note that down, as you need it in the Velo Cloud Config and also the WS1 Web App Config)
The Redirect URI is the Velocloud Login base URL and add there “/login/ssologin/openidCallback” to the end.
Then tick the Boxes for “Email” , “Profile”, “User”, “OpenID” & “Group” before clicking the Advanced Settings:

on the Advanced Settings Click to the “Generate Shared Secret”

Note down the Shared Secret a we need it later in the Config

Make sure you untick the Box for “Prompt users for access” and then Click to “Add”

Enable App in WS1 Access
once finished with the OIDC Config we can add the App to the Catalog. Let us Add the App to Workspace ONE Access now and assign it then to users.
Go to “Web Apps” and click to “New”:

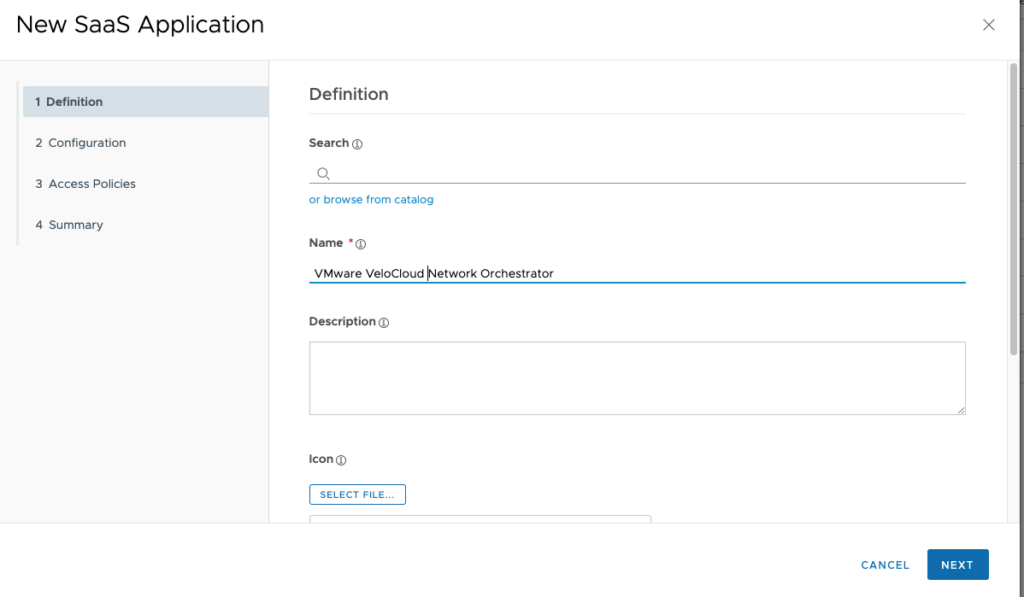
give the Web App a “Name” and then click to “Next”
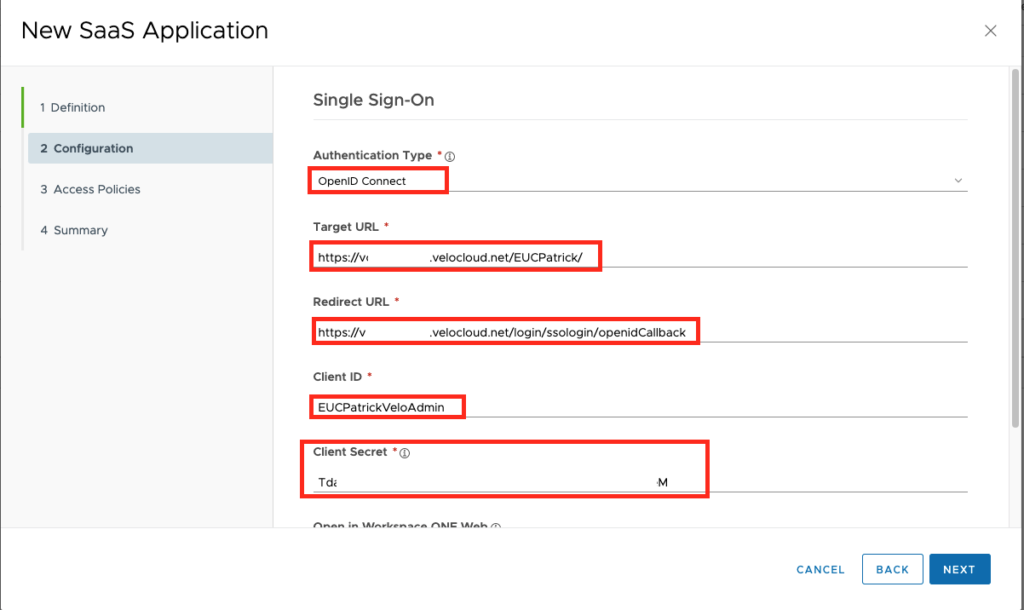
Select the Authentication Type “OpenID Connect” , add your Target URL which is the Base URL of Velocloud & your Domain in VeloCloud (if you do not know it , your can see it in the Velocloud Admin UI , see next screenshot). Add the Redirect URL (which should also be the same then on the Open ID Connect Config) and the Specified “Client ID” withthe “Client Secret”. Once done click to “Next”
here you find your VeloCloud Domain , it not set , make sure your set it before trying to SSO with OIDC.

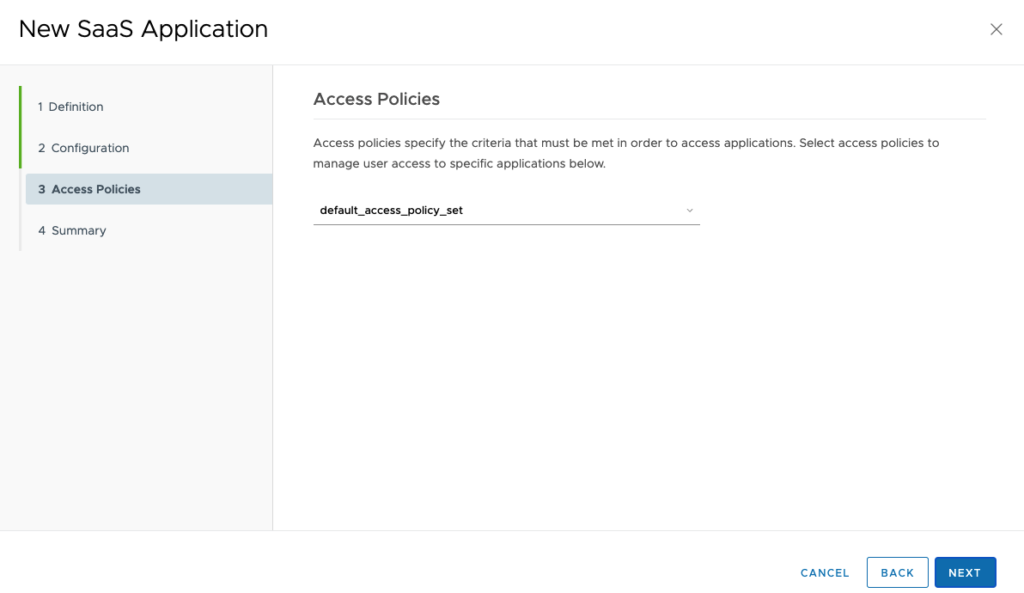
Select the Access Policies that should be used , I used the default , then click to “Next”
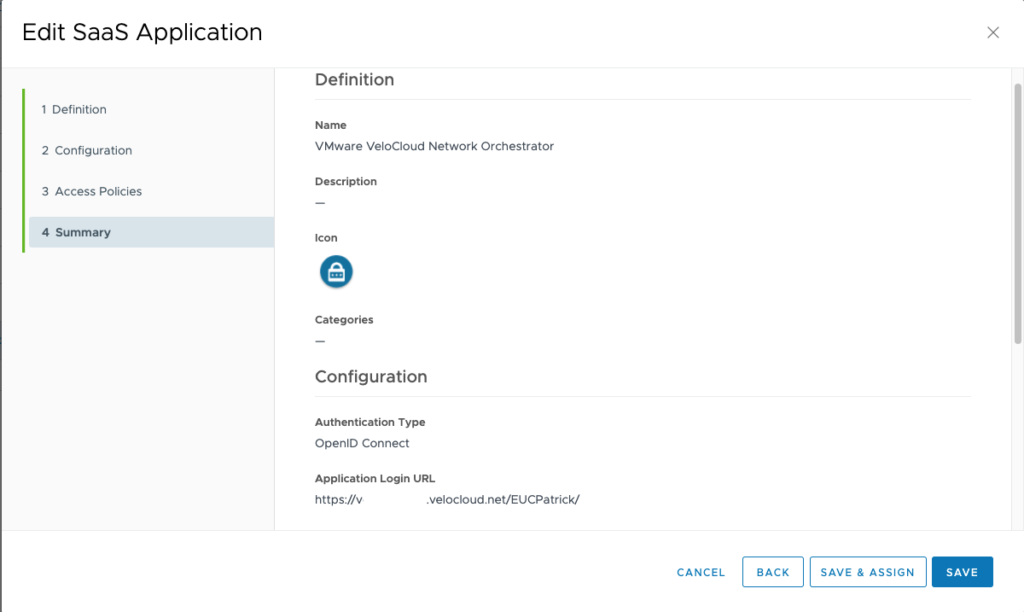
Once done , just click to “Save”
Setup Settings on VeloCloud Orchestrator
go to your VeloClout Orchestrator Admin UI and login with the given Username & password. this account will stay , in case your IDP Settings are broken or wrong , you still can use this account to login in emergency.

once Logged in , navigate to “Administration” & then “System Settings”

Choose the Tab ” Authentication” and Select the Authentication Mode “Single Sign-on” and the IDP template “Other”

Type in the Base URL of your Workspace ONE Access (like https://mycompany.workspaceair.com) and add “SAAS/auth/.well-known/openid-configuration” for the OIDC well-known config URL. once typed in correctly it automatically fills out the Other URLs. :

in the Client ID enter the noted “Client Id” from the OIDC Configuration as well as the “Client Secret” . Also make sure you have the Scope set to “openid,profile,email,groups”. If you only want to use the Standard Admin Role for all Admins you just can keep the “use Default Role” and save the Settings to test.

As I wanted to show that we can use the Groups from WS1 Access and bind them to Roles in VeloCloud Orchestrator i used the Role Mapping as you can see in the next Chapter.
Using Group / Role Mapping
I used different Groups to add different Roles for the Admin UI of VeloCloud. to show this feature I used a “ReadOnly” Admin and a “SuperUser”
the Groups have in my Case already the Admins as a member, I used “EUCPatrick_Velo_Readonly” & “EUCPatrick_Velo_Superusers” in Workspace ONE Access.

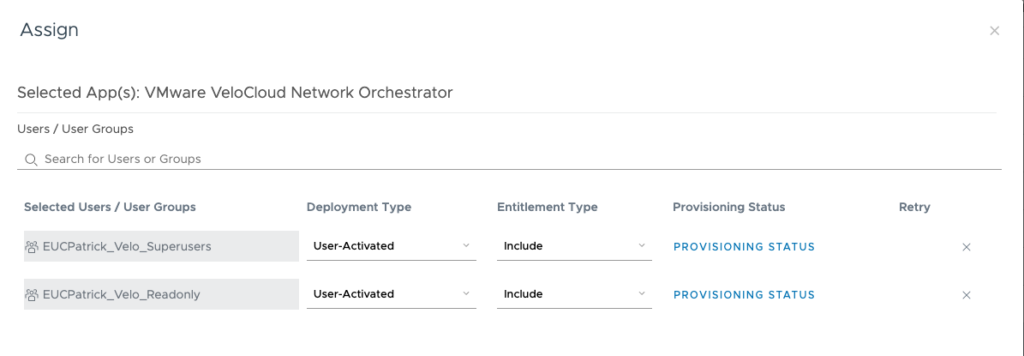
I assigned the Web App in Workspace ONE to this 2 groups only, so that only users with access can see the Web App in their Portal:
on the VeloCloud Admin Console you just need to set the Roles to “Use Identity Provider Roles” and define the Role Attribute. As I want to use the Groups of the Users to match the Roles , I decided to go with the Group names , which are called “group_names”. Make sure you add the Group names accrding to you groups , I used the SuperUsers Group and the Readonly here.
Note: All this Groups and Attributes are case sensitivity, so make sure this matches.

Once done you can also test it with a user to see it it works by Clicking the “Test Configuration”

It should go to “Success” and you also see the groups of the User and the Role the user will be assigned according the configuration:

Login
With that steps you do not need to add Admins to VeloCoud Orchestrator, you just need to add the Accounts to the right Groups and you have the Permissions assigned . Also you do not need passwords as your can use Certificates or MFA as you specified in the Workspace ONE Access Console.
Admins See the App in Workspace ONE Access Catalog and can just click to it:

Once you are on the Login page , just click to the “Sign in With Your Identity Provider”

and you are logged in and can configure all the nice features of Cloud Web Security , Secure Access Service Edge or any VeloCloud SD-Wan Configuration.

You can also add Azure, Ping or Okta to the VeloCloud Orchestrator instead, but as many Customers have already Omnissa Workspace ONE Access in place it is just some clicks away from using it.
vExpert, blogger and VMware & Omnissa champion. Worked 10 years as a Architect for a partner before joining VMware in 2017. Moved to Omnissa in 2024.