Exploring the new MSAL integration with Workspace ONE Launcher
Partner Device Compliance with Entra ID has been available in Omnissa Workspace ONE UEM since version 23.06 for shared devices using Check-In Check-Out (CICO). Now, a new integration is available that enables device checkout using MSAL at login. This means users can benefit from a single sign-on experience across all apps that support MSAL, while still being able to use Mobile SSO for other apps. This is supported also for Multiple UEM Tenants/Environments with a single Entra Tenant as well.
Pre-Reqs
the following Prerequisites need to be met :
- Workspace ONE UEM 24.10 Patch 12. (with AndroidSharedDeviceGlobalMsftSsoFeatureFlag enabled) or UEM 25.06 Release that is GA
- Launcher 24.11 or newer , Recommend the 25.05 Launcher
- Hub 25.03 or newer
- Mircrosoft Authenticator in Shared Mode
UEM Console Config
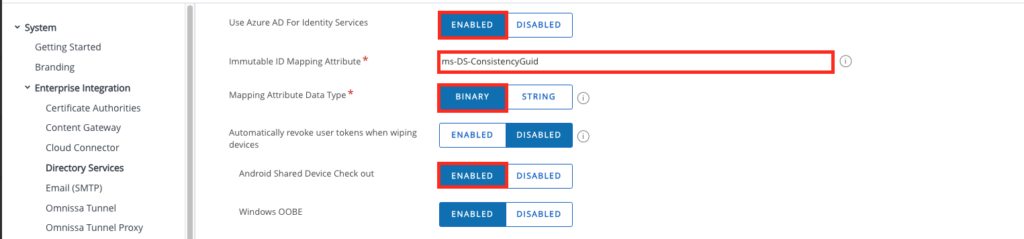
on the UEM Console Make sure the Azure AD for Identity Service is Enabled ( if you use Windows OOBE it is already on) then enable the “Android Shared Device Check out”
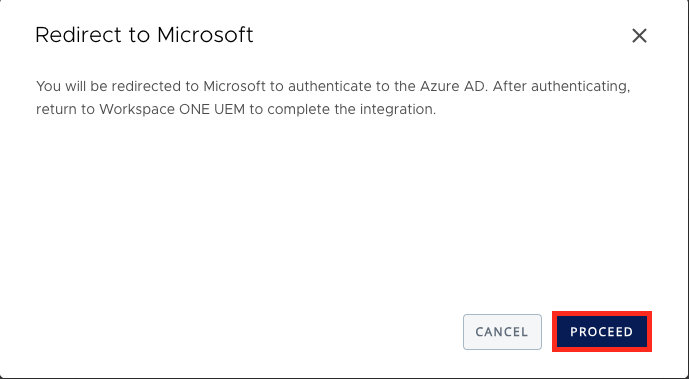
Once Clicked it will Redirect to Microsoft , just click to Proceed and a new Tab will open
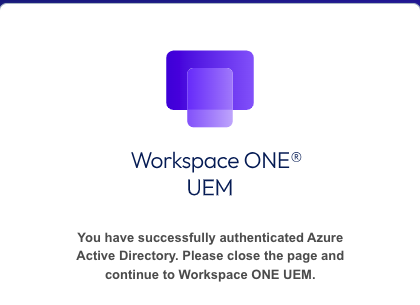
on the new Tab , you can login to Entra (with an Admin) and Accept the App:

Once done you can close the Tab
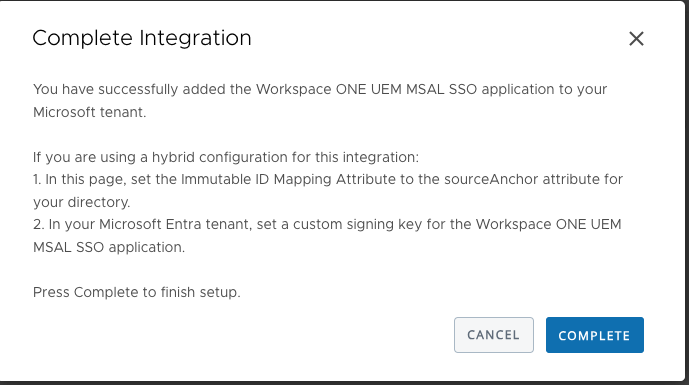
On UEM Click the “COMPELTE” button
Entra Config (for Hybrid Accounts only)
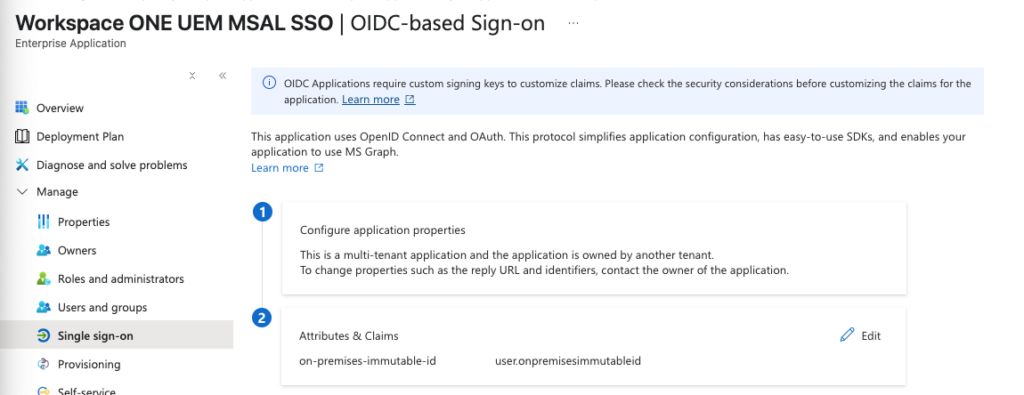
In my case I am using a Hybrid Config, so Users are synced from on-prem AD to Entra , UEM is using on-prem AD. So I need to add the mapping attribute on the Azure side as well. So do that Login it Entra and Select the newly added App from the step before. Go to “Single sign-on” and click the “Edit ” in the Attributes and Claims Section.

next Select the “Add new Claim” option:
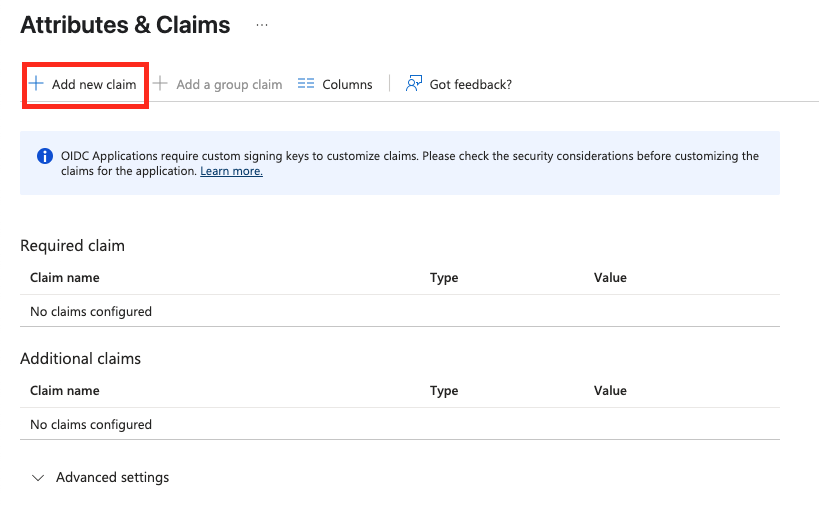
Add the name “on-premises-immutable-id” and the Source attribute “user.onpremisesimmutableid” like shown in the Screenshot and “Save” the Claim

Once done it should look like that:
Adding the Signing Cert (only Hybrid AD, for the Custom Claim)
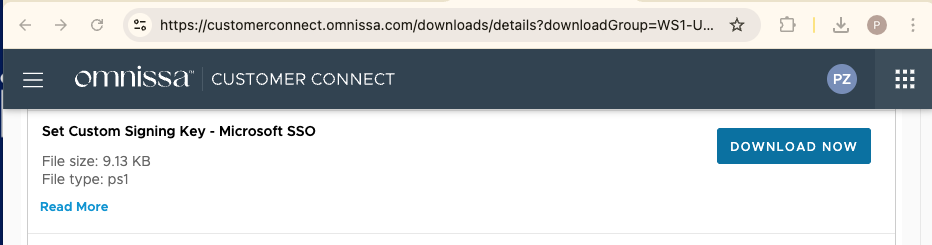
Download the script for the MSAL Launcher from Omnissa Customer Connect (Seed Script Section) to create the Signing certificate. Both self-signed and custom certificates are supported; in my case, I used a self-signed certificate.
Use the following PowerShell command to run the script:
./setCustomSigningKey.ps1 -CertFriendlyName "XXX" -Password "XXX" -TenantId"XXX" -ApplicationObjectId "XXX" -SelfSigned “Y”In a text editor, eplace XXX for all arguments in the command as follows:
CertFriendlyName: Set a friendly name for the custom signing key. The IssuedTo and IssuedBy fields for the self-signed will be set toCN=$CertFriendlyName.
Password: The password that the script will use to generate the self-signed private key.
TenantId: The Microsoft Entra tenant ID for your organization
ApplicationObjectId: The ID of the Workspace ONE UEM MSAL SSO service principal added to your Microsoft Entra tenant. (To find this value , Log into the Microsoft Entra Admin Portal, Navigate to Enterprise applications , Select Workspace ONE UEM MSAL SSO, In the Overview tab, copy the Object ID. )
The full process looks like this (Sample Data) :
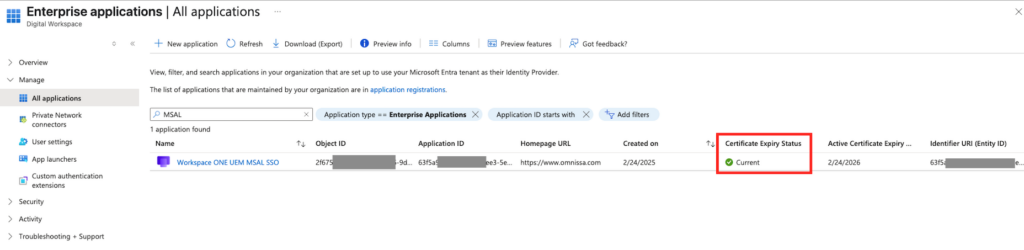
Once completed you can validate it ensure the Certificate is visible in the Enterprise Application
Intelligent Hub Settings
in the OG where the Device with Launcher and CICO should use the MSAL Go to the “Intelligent Hub Settings” and activate the “Global sign-in/sign-out using MSAL”
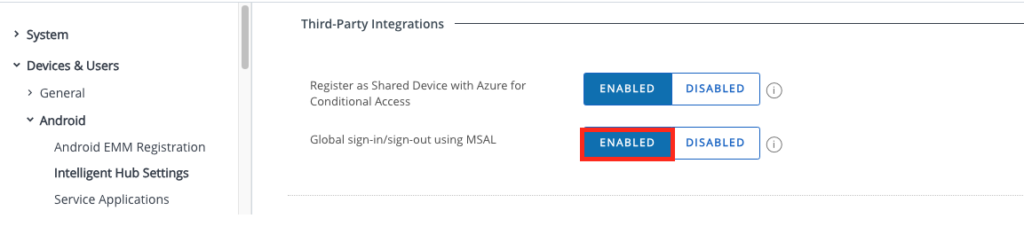
Once this setting is enabled all CICO Devices will use MSAL for login, so make sue you do this on the relevant OGs only.
Device Demo
vExpert, blogger and VMware & Omnissa champion. Worked 10 years as a Architect for a partner before joining VMware in 2017. Moved to Omnissa in 2024.
Stevin van Keulen
Hi Patrick,
We are unable to find and downlaod the script for the MSAL Launcher from Omnissa Customer Connect to create the Signing certificate. Can you provide us the download link of the download?
We are testing with the new MSAL integration with Workspace ONE Launcher.
Regards,
Stevin
Patrick Zoeller
Script is located here :
https://customerconnect.omnissa.com/downloads/details?downloadGroup=WS1-UEM-SS&productId=1589&rPId=118923
Ermal
Hi Patrick
SSO with Microsoft Teams, Copilot and Edge Browser works just fine on Android Shared Devices.
We have some struggles only with Outlook SSO over MSAL. Did you had issues?
Thanks and regards,
Ermal
Patrick Zoeller
Did not test Outlook , Boxer works for sure , might be the better solution in CICO .